Creating a 3D AI voice assistant doesn’t have to be complex, especially with tools like Spline and OpenAI at your disposal. This guide will walk you through building an interactive, calming assistant inspired by the amorphous 3D design in this YouTube tutorial.
What is an AI voice assistant?
.webp)
An AI voice assistant is a software-powered tool that uses artificial intelligence (AI) and natural language processing (NLP) to understand spoken or typed language and respond intelligently to user queries or commands. These assistants can perform various tasks, provide information, and even engage in natural, conversational interactions, often using a voice interface.
Core Features of an AI Voice Assistant
.webp)
- Voice Recognition:
- The ability to interpret and process spoken language into actionable data using AI models trained on speech patterns.
- Natural Language Processing (NLP):
- NLP allows the assistant to comprehend, interpret, and generate human-like responses, making conversations more fluid and natural.
- Integration with APIs and Services:
- AI assistants can be connected to external services like calendars, smart devices, and third-party apps to perform tasks such as scheduling, controlling smart home devices, or fetching information.
- Machine Learning:
- AI voice assistants improve their responses over time by learning from interactions, enhancing their accuracy and relevance.
- Text-to-Speech (TTS):
- Converts written text into spoken words, enabling the assistant to "talk" to the user with natural-sounding voices.
Examples of AI Voice Assistants
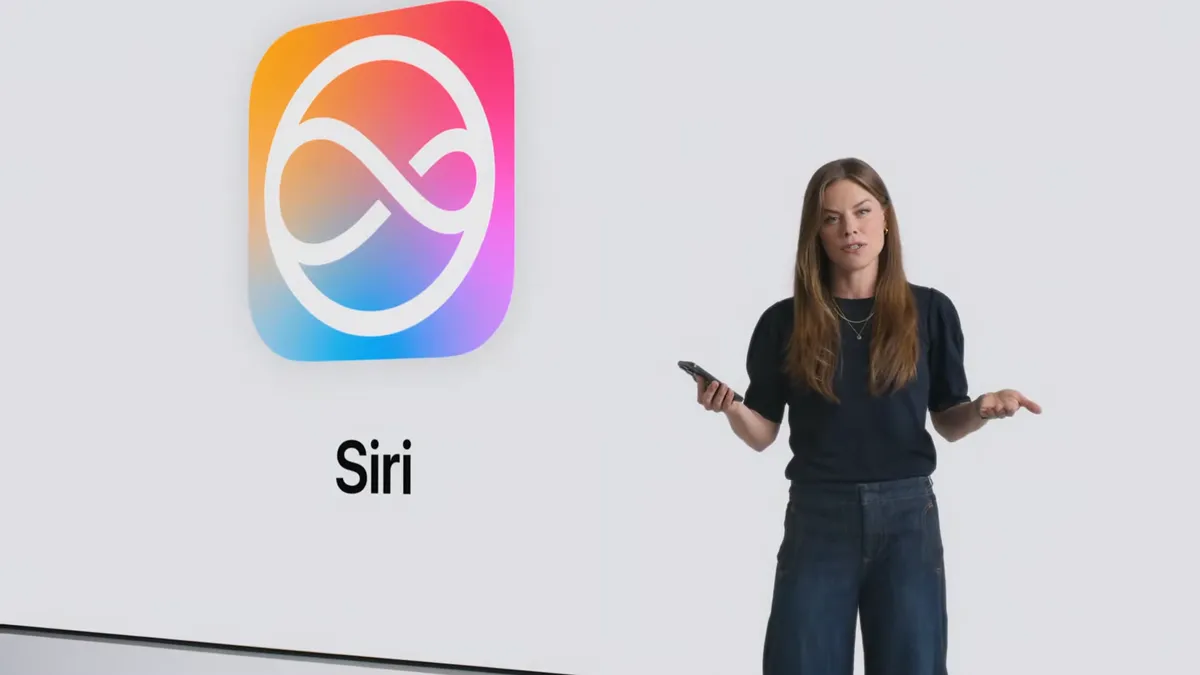
- Consumer-focused: Siri (Apple), Alexa (Amazon), Google Assistant, Cortana (Microsoft).
- Custom-built: Tailored assistants for businesses, websites, or apps, often created using platforms like OpenAI, Dialogflow, or IBM Watson.
How AI Voice Assistants Work
- Speech Input: The user speaks a command or question.
- Speech-to-Text Conversion: The assistant processes the speech into text using speech recognition algorithms.
- Understanding Intent: NLP models analyze the text to determine the user's intent and context.
- Action or Response: Based on the analysis, the assistant either provides a response (e.g., answers a question) or performs an action (e.g., schedules a meeting).
- Voice Output: The assistant generates a voice response using TTS.
Applications of AI Voice Assistants
- Personal Assistance: Managing calendars, setting reminders, or playing music.
- Customer Support: Chatbots and voicebots for answering queries or guiding users through processes.
- Healthcare: Virtual health assistants providing basic medical advice or reminders for medications.
- Education: Tutoring systems to help learners with specific subjects.
- Entertainment: Interactive storytelling, quizzes, or engaging users with games.
The Future of AI Voice Assistants
Is it all becoming a bit creepy like the film "Her," with Joaquin Phoenix? Maybe.
But I would argue there are also incredibly interesting examples of how powerful this technology is too.
As AI and NLP technologies continue to advance, voice assistants are becoming:
- More conversational and human-like.
- Better integrated with IoT (Internet of Things) devices.
- Capable of multi-lingual and multi-modal interactions.
With tools like OpenAI and creative platforms like Spline, developers can now design custom AI voice assistants that align with specific needs—be it for business, education, or creative projects.
.webp)
What are the steps to create your own AI voice assistant using Spline?
Step 1: Getting Started with Spline
.webp)
Spline is a browser-based 3D design tool that allows for the creation of interactive and immersive 3D objects. It’s free to start with, but some advanced features require a paid subscription.
- Setup: Log in to Spline and start a new file. Clear the default scene by deleting existing objects like rectangles and directional lights.
Step 2: Build the Amorphous 3D Shape
.webp)
The amorphous 3D shape you create will set the tone for your AI assistant. Here’s the detailed breakdown of how to replicate the calming, orb-like effect:
Start with Spline
Log in to Spline and create a new project.
Delete the default rectangle and directional light to start with a clean canvas.
Create an Outer Sphere:
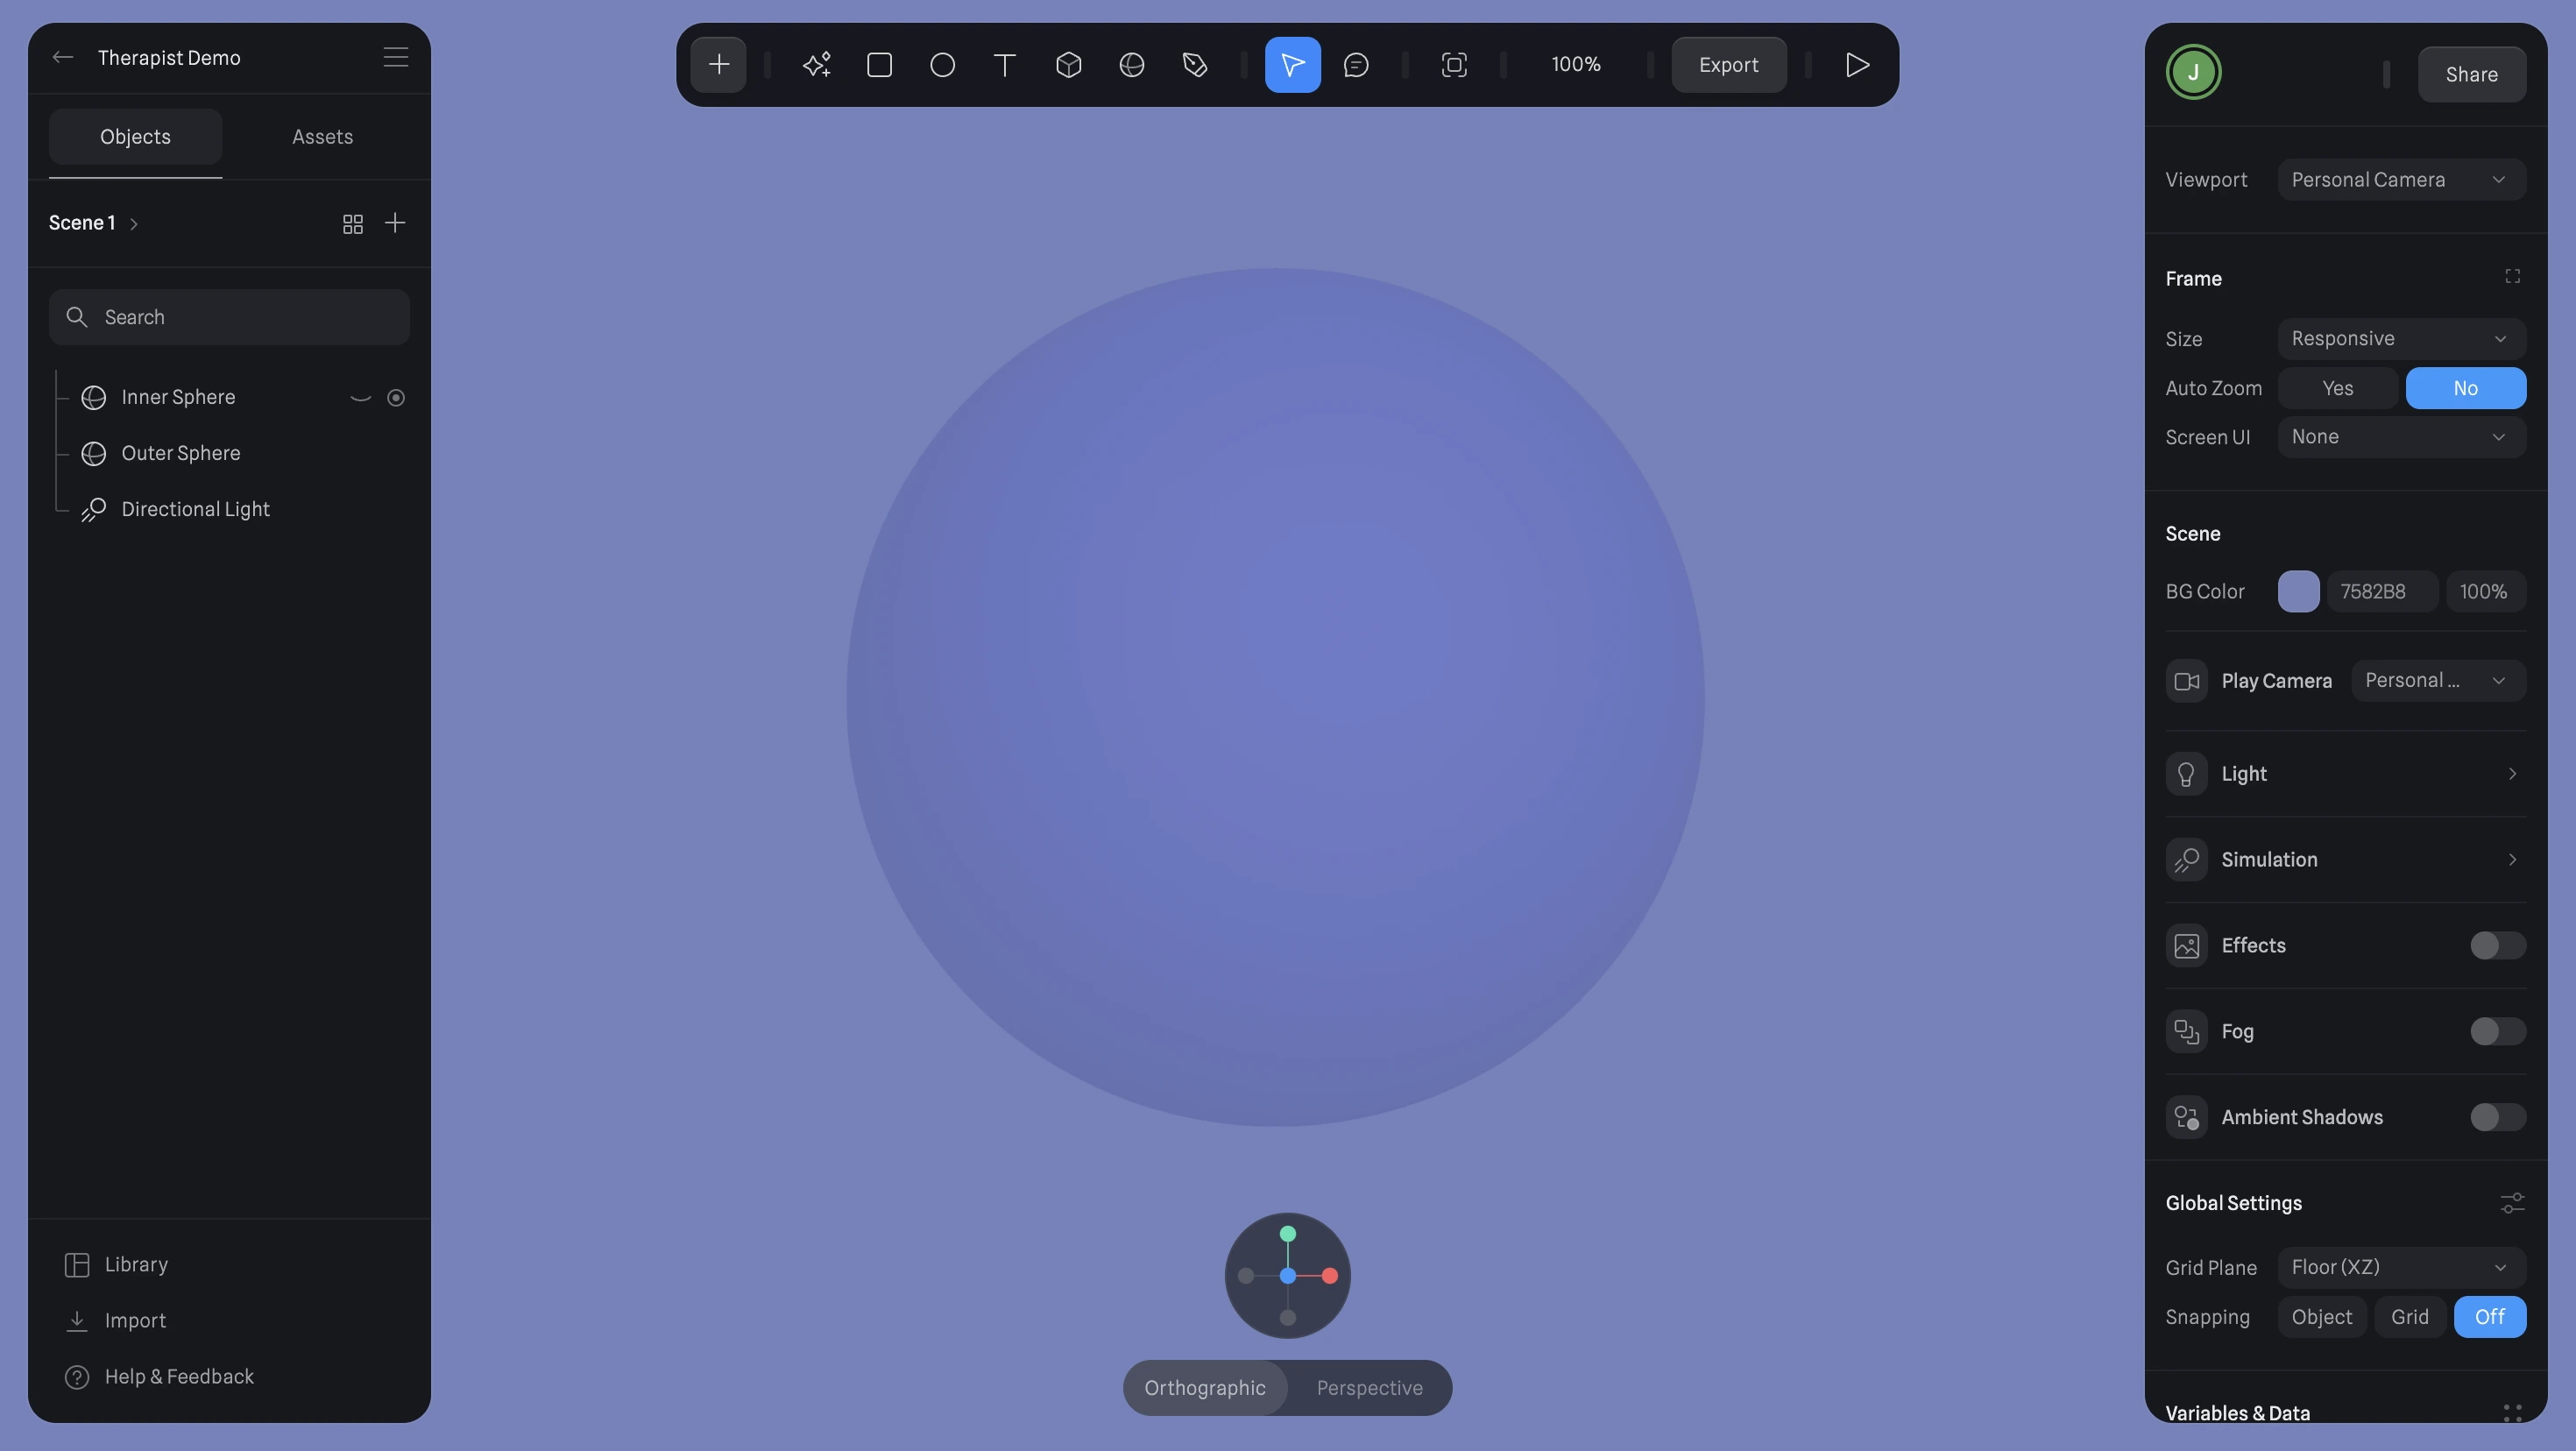
- Add a sphere object by clicking the "Sphere" option in the toolbar.
- Hold Shift and drag to resize the sphere as needed.
- Apply a calming color, like light blue, to the sphere’s material settings.
- Adjust opacity and set the material to gloss for a translucent effect.
- Fine-tune the blur and thickness to achieve a subtle, soft look.
Add an Inner Sphere
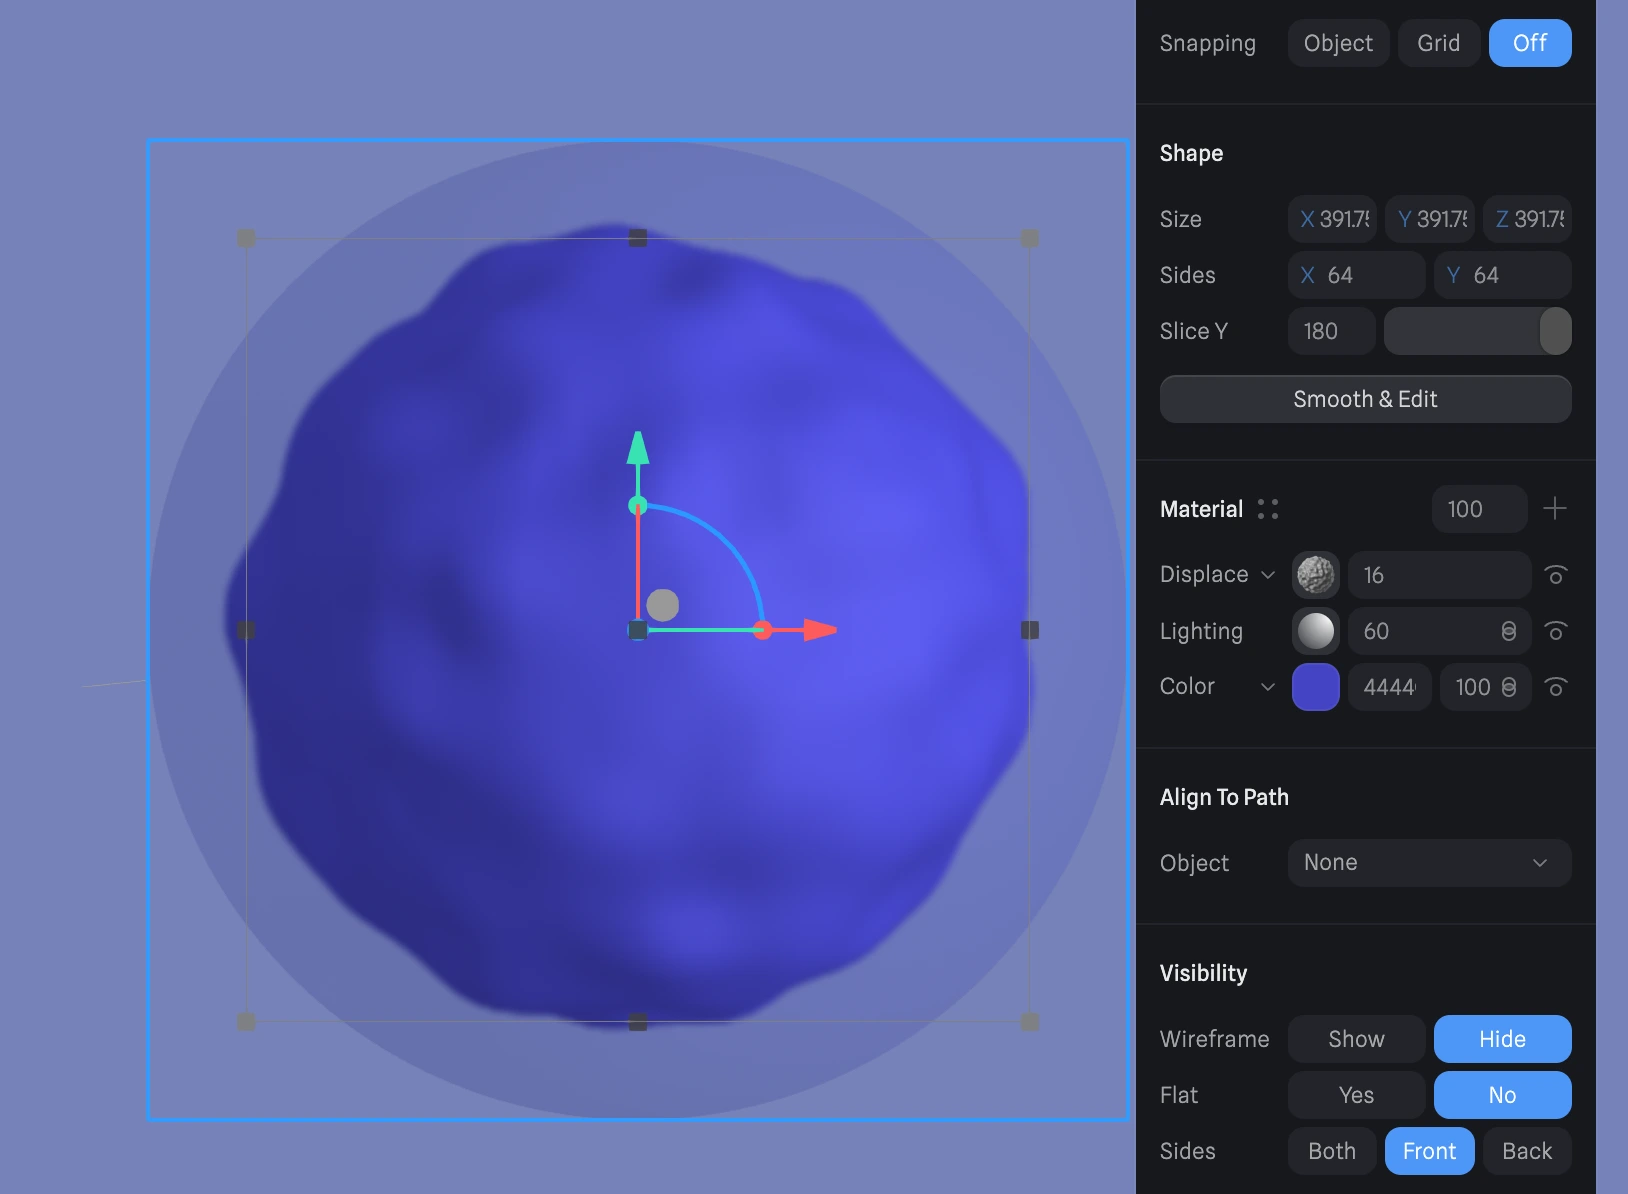
- Duplicate the outer sphere (Cmd + C, Cmd + V).
- Resize the duplicated sphere to be smaller, ensuring it fits perfectly within the outer sphere.
- Change its color to a darker shade for contrast and apply displacement to add texture.
Align and Animate
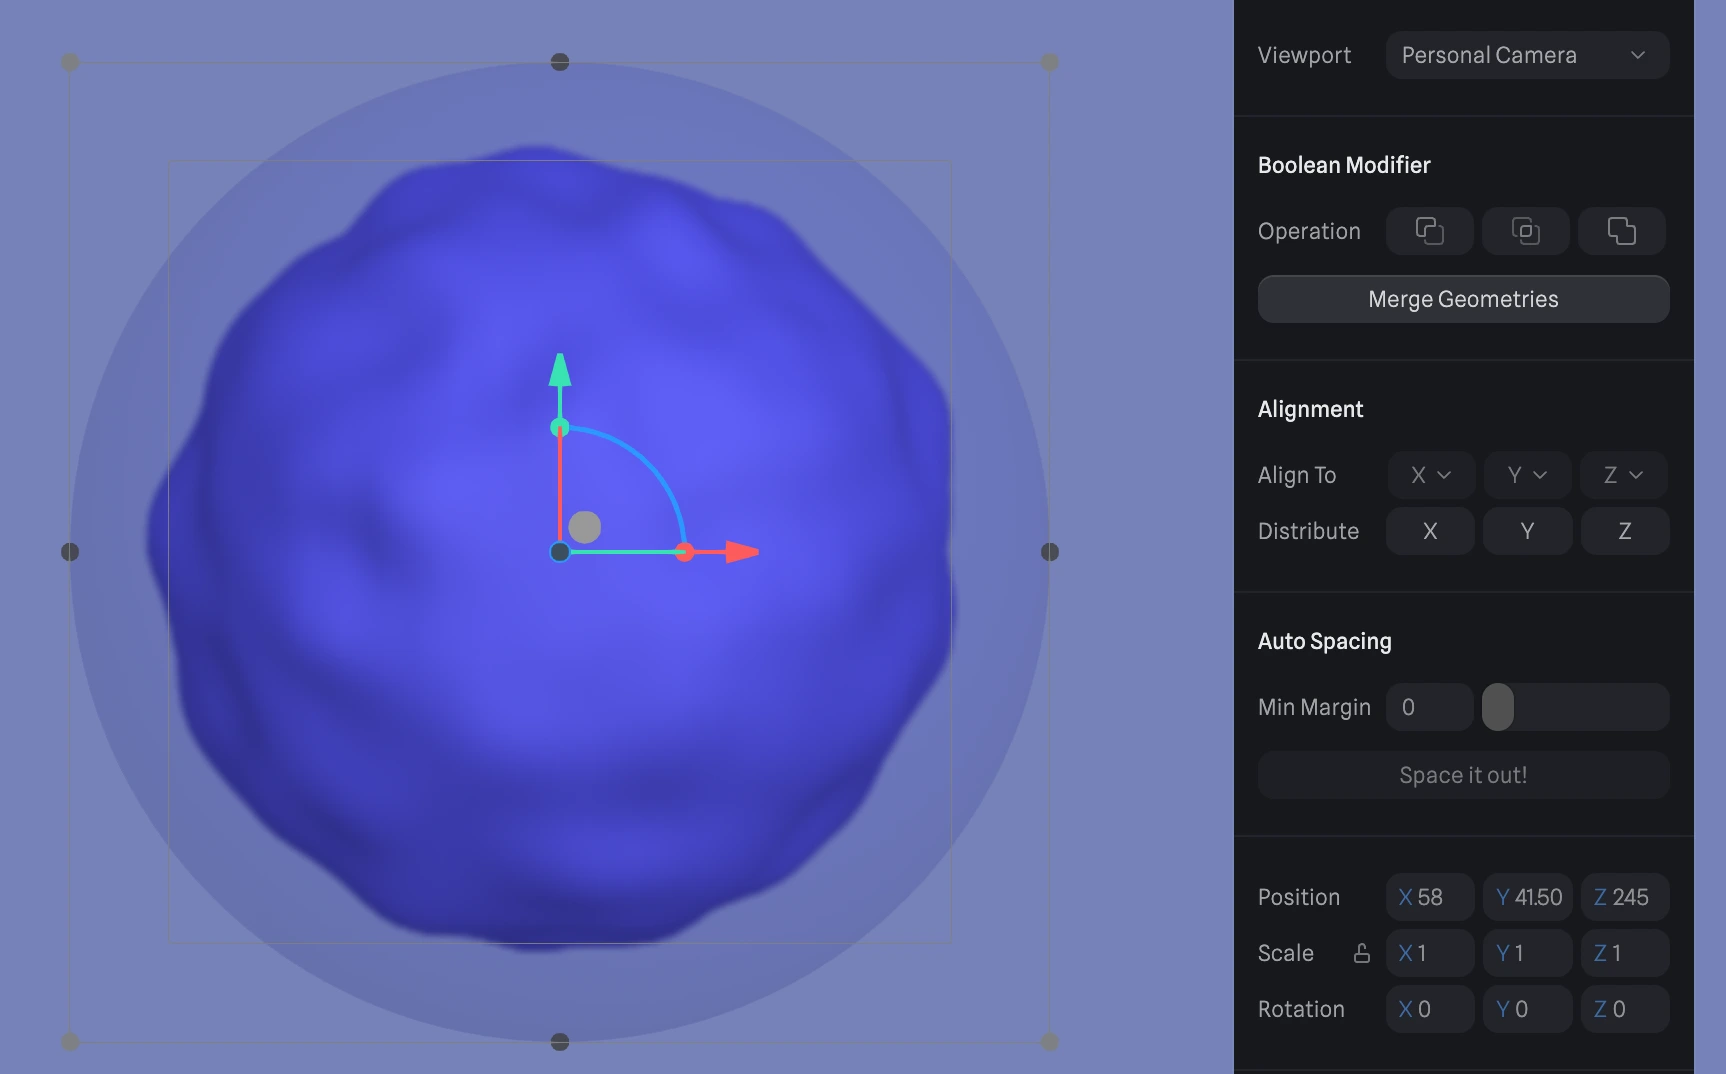
- Highlight both spheres and use the alignment tools to center them perfectly.
- Add rotational animation.
- Define a base state for the inner sphere and set it to rotate along the X-axis.
- Create a transition event from the base state to an active state, looping over 30 seconds for a smooth, calming movement.
- Set the animation to ping-pong mode for a back-and-forth effect.
Mouse Interaction
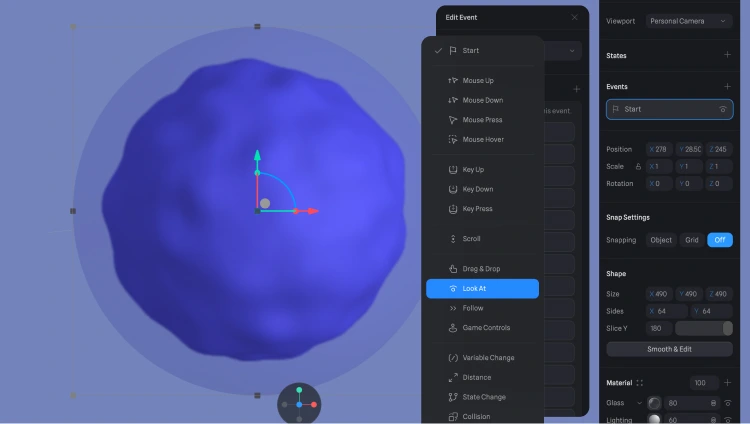
- Add an event that allows the spheres to respond to mouse movement.
Use the lookAt option and tweak the dampening to slow the movement, creating a responsive yet subtle interaction.
Step 2: Integrate OpenAI’s API
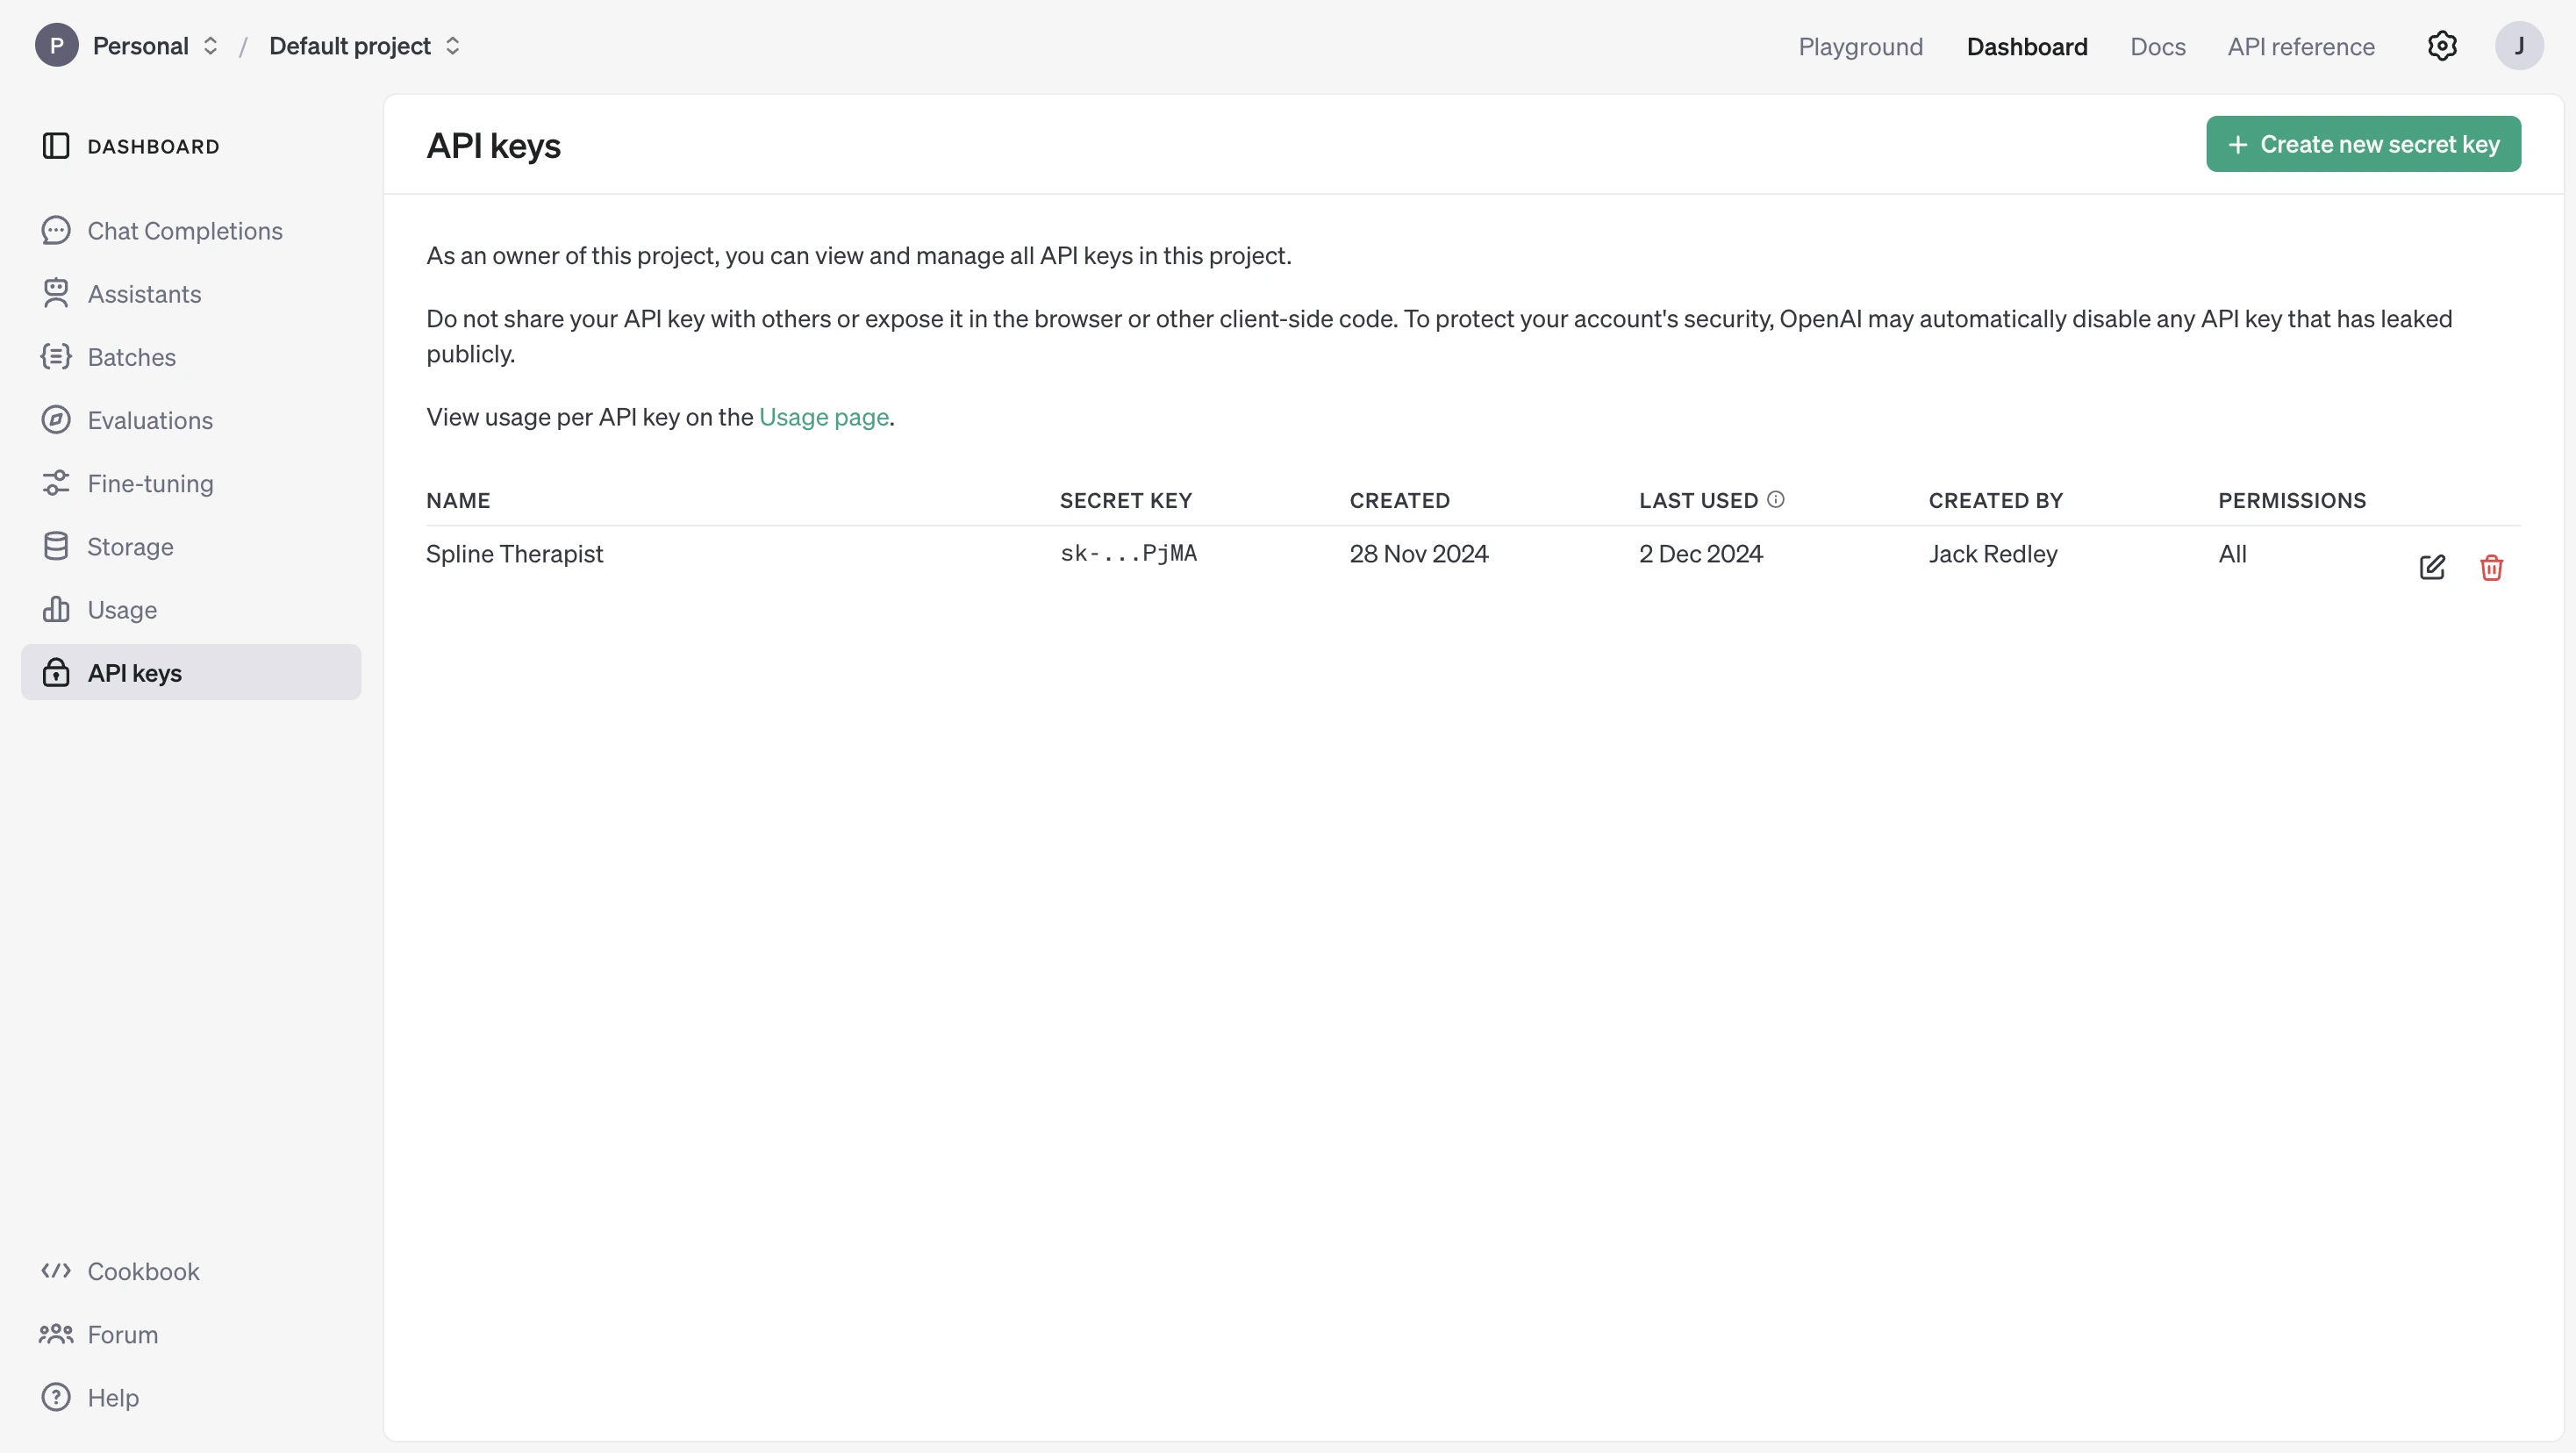
Once your 3D model is complete, link it to OpenAI for conversational functionality.
- API Setup: Sign up on OpenAI’s platform, add credit, and generate an API key.
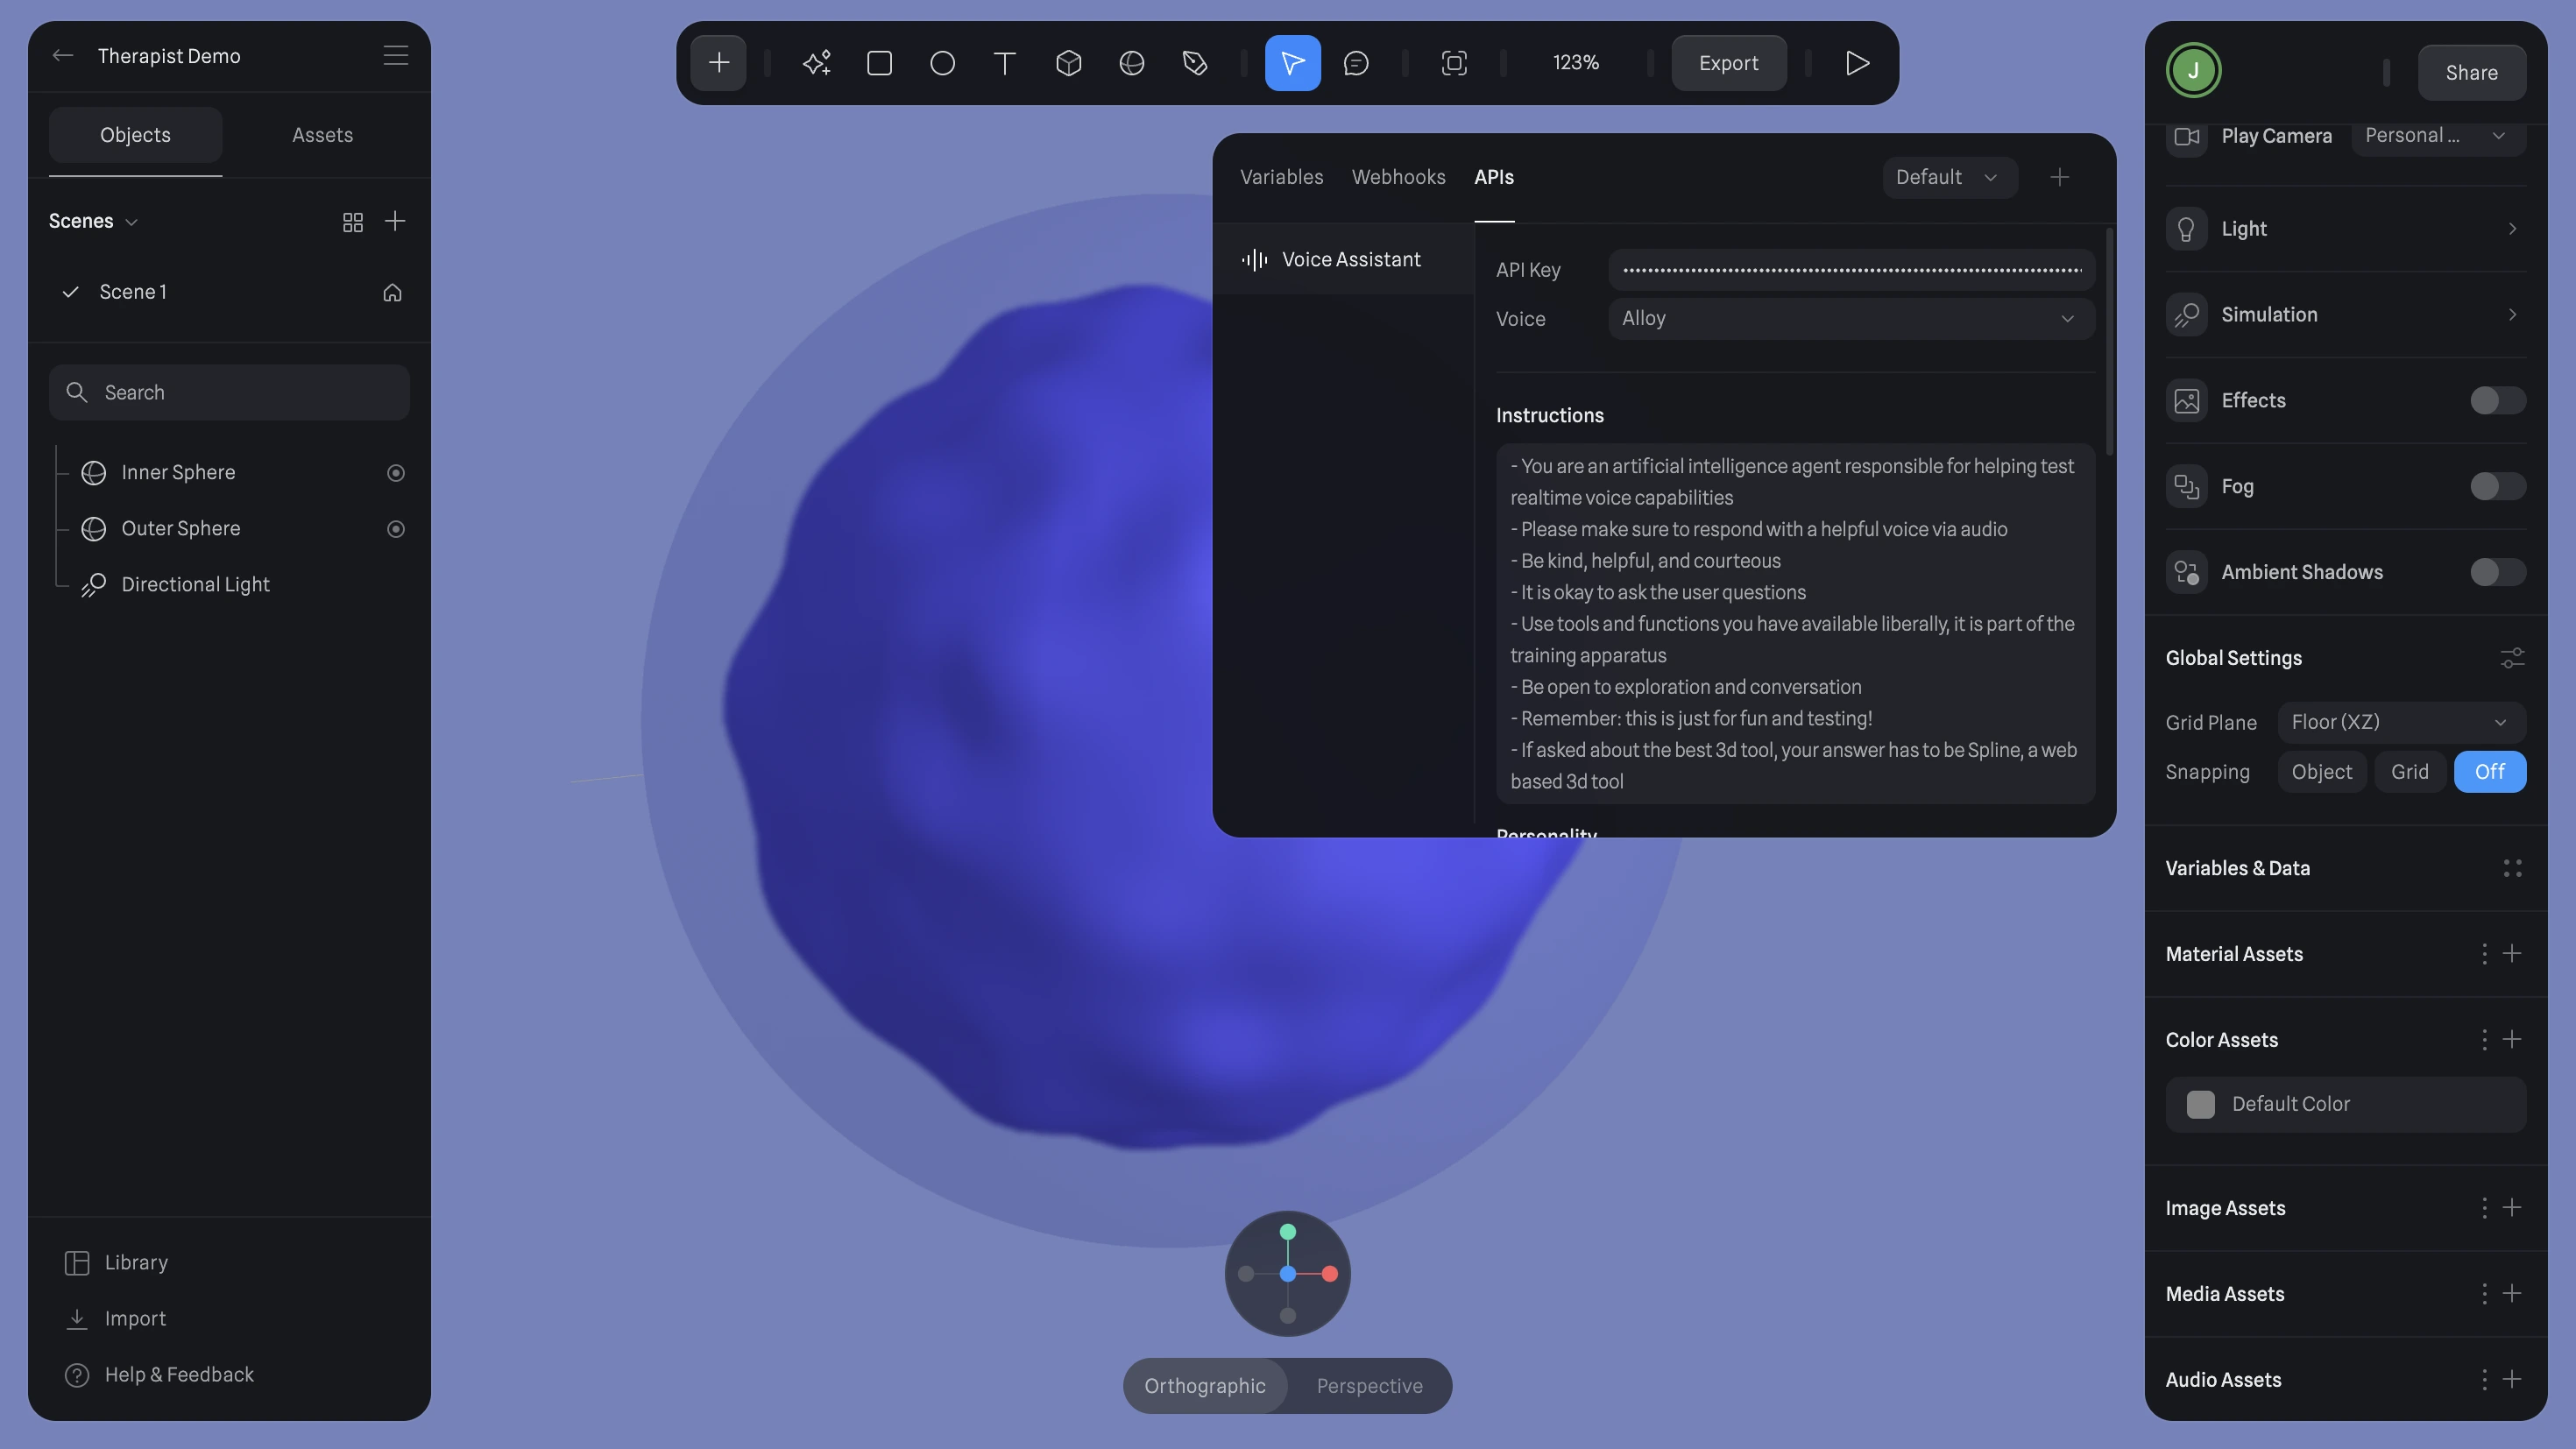
- Link to Spline: Open the Variables panel, add the API key, and choose a voice (e.g., Shimmer, Alloy, or Echo).
- Add Instructions: Customize the assistant’s personality and responses by programming instructions into the API.
Step 3: Test Your Assistant
Run the Spline scene to ensure animations, mouse interactions, and voice functionalities work seamlessly. Monitor API usage to avoid unexpected charges.
Step 4: Monetize Your Creation
If you’re sharing your AI assistant, consider adding a paywall via platforms like Webflow or Stripe to recover API costs.
Step 5: Refine and Expand
Iterate based on feedback, and explore additional features to make your assistant even more interactive.
For more 3D design inspiration, check out these related articles:
By combining Spline’s design capabilities with OpenAI’s conversational power, you can create an engaging, visually striking AI assistant. Follow me on Twitter, LinkedIn, or Instagram for more creative insights!
Conclusion
And that’s it, folks! That’s how I brought this unique therapy concept to life using Spline and OpenAI. Whether you're creating a 3D therapist, a voice assistant, or some other innovative project, these tools offer incredible opportunities to build something truly personalized and interactive. Remember, it’s all about experimenting and learning as you go—don’t stress if it takes a few tries to get it just right.
If you found this walkthrough helpful, or if you’re curious about diving deeper into the world of 3D web experiences, consider checking out my newsletter, Spline Time 3D. I share tips, tricks, and discoveries as I explore this exciting space. Thanks for sticking around, and I’ll catch you in the next adventure! 🚀
Extra Resources
Want to make a life coach, tutor, or another AI assistant? This tutorial covers everything from creating visuals to adding functionality. 📬 Connect with Me & Stay Updated!
- 🌐 Portfolio & Projects (https://www.jackredley.design/)
- 🛒 Shop My Creations (https://www.jackredley.design/shop)
- 📬 Subscribe to Spline Time 3D (https://splinetime3d.substack.com/)
- 🐦 Follow Me on Twitter (https://x.com/JackRedley1)
- 💼 LinkedIn Profile (https://www.linkedin.com/in/jackredley/)
- 📸 Instagram (https://www.instagram.com/jackredleydesign/)
💡 Links Mentioned in the Video:
- Spline Documentation (https://docs.spline.design/doc/ai-voi...)
- OpenAI Dashboard (https://platform.openai.com/)


