3D design has come a long way, and with modern tools like Spline, it’s easier than ever to create mesmerizing, animated objects.
In this guide, we’ll walk through how to create a dynamic, shimmery, and animated 3D blob that can be used for web design, branding, or creative projects.
Let's dive straight in!
Creating A Blob
1) Getting Started with Spline
To begin, open Spline and create a new file. By default, Spline gives you a square object—let’s delete that and start fresh:
- Click the plus (+) icon and select Sphere from the menu.
- Drag out a large sphere on the canvas.
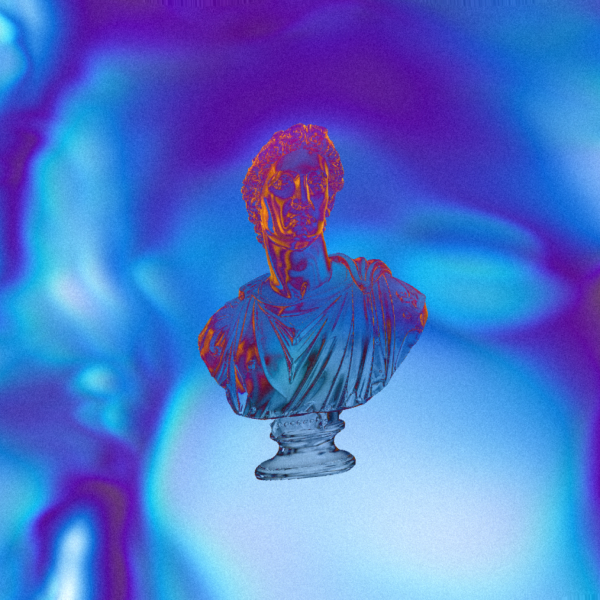
- Adjust the background color to make the sphere stand out. For this tutorial, we’ll use a bright purple background.
2) Adding Layers for a Dynamic Look
Now that we have a sphere, let’s apply different effects to make it look more organic and fluid:Step 1: Add a Displacement Layer
- Click plus (+) and select Displacement Layer.
- Set the scale to 20 and movement to 10 to create an organic shape.
3) Add a Noise Layer
- Select Noise Layer and choose Simplex Fractal.
- Adjust the noise settings to 20 for a subtle texture.
- Change the darker areas to lavender and set the blend mode to overlay for a glowing effect.
3) Apply a Fresnel Layer
- Fresnel layers add a subtle light reflection.
- Apply one with a slightly darker color to create a shimmery effect.
4) Introduce a Rainbow Layer
- Add a Rainbow Layer to enhance the shimmer.
- Adjust the intensity to 20 and movement to 20.
- Set the blend mode to overlay for a natural, glowing effect.
At this point, our blob is looking smooth and fluid, but we need to animate it for an even more dynamic look.
Animating the 3D Blob
5) Define Object States
- Select the blob and navigate to the States panel.
- Click plus (+) to add a new state.
- In the Base State, set:
- Scale to 10
- Movement to 5
- In the State, set:
- Scale to 30
- Movement to 10
6) Create a Looping Animation
- Add an Event with a 5-second transition time.
- Set the easing function to Cycle Ping Pong to animate back and forth.
- Enable Loop Infinitely to ensure continuous animation.
This creates a ripple-like motion, making the blob expand and contract smoothly.Step 3: Fine-Tune the Effect
- If the shape is too sharp, change the Noise Type to Perlin for a softer look.
- Adjust the scale and movement settings until you achieve the desired fluidity.
7) Adding an Iridescent Effect (Optional)
For an even shinier and futuristic look, we can overlay a Matcap texture:
- Change the background color to near-black for contrast.
- Add a Matcap Layer by clicking plus (+) and selecting Matcap.
- Use an iridescent material from a Matcaps bundle to give the blob a glowing, metallic effect.
- Change the blend mode to Overlay to integrate the Matcap with the existing textures.
Now, your 3D blob has a high-quality shimmer effect, perfect for adding a futuristic feel to your design.Exporting Your AnimationWant to use your animated blob on a website? You can export it as a GIF or video:
- Go to Video Recording settings.
- Set Fixed Duration to 5 seconds.
- Record and export your animation.
This is perfect for use as a homepage header, hover animation, or interactive design element.
Conclusion
In just a few minutes, we’ve created a fully animated, glowing, and iridescent 3D blob in Spline. This tutorial covered:✅ Setting up a 3D sphere
✅ Applying displacement, noise, and Fresnel layers
✅ Animating the blob with looping effects
✅ Enhancing the look with an iridescent Matcap texture
✅ Exporting for use in web design and animationsNow it’s your turn! Experiment with different colors, layers, and animations to make your own unique 3D blob. If you enjoyed this tutorial, feel free to share your creations and remix the project.Cheers, peace, love, ciao! 🎨✨Would you like any modifications or additional details? 😊
%20(1).jpg)