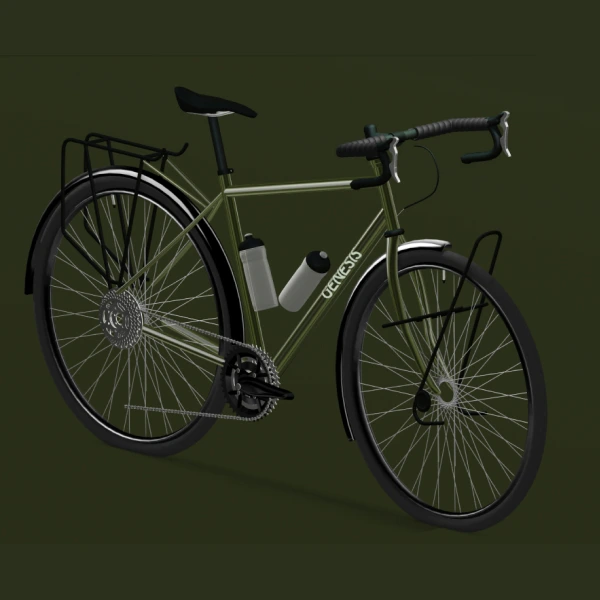
Oi oi savoy. Today, I want to talk about a tool that's really special to me—Spline. It’s a 3D modeling tool that’s collaborative and web-based, so it won’t slow down your laptop. It’s a super powerful tool, and I’m excited to walk you through its key features. I’ll cover how to create and manipulate 3D objects, add interactivity and animation, work with materials and shading, collaborate within a team, and explore export options, including how to make your projects responsive.
Some Basics Using Spline
1) Remixing Files
Let’s dive into Spline! First, create an account if you haven’t already, or just log in if you’ve been playing around with it. The great thing is you don’t need to pay to use Spline—you can create and explore for free. You only need to pay when you export things. To start a new project, click the top right, or head over to the Community tab to check out amazing projects from others. You can even remix them, which clones the project into your account. In “My Files,” you’ll see the remixes and can explore how they were made. You can move around the scene using two fingers on the trackpad or hold option to drag. Double-clicking lets you explore deeper. Today, I’ll walk through some basics, but be sure to check out cool projects like Vlad’s—you can follow creators too!
2) Creating Shapes
If you open a new file in Spline and feel unsure where to start, remember you can always check out the Community tab for inspiration. When you start a new project, you can choose from pre-made options to help you get going quickly. But if you prefer to start from scratch, you’ll see a rectangle and directional light—usually, I delete those to start with a blank canvas. On the left, you have your assets, and although it starts empty, you can add objects from the library or import models from places like Sketchfab, where many are free. You can also add sounds, images, and create shapes like circles or helixes using the tools at the top. Lots of possibilities!
So, if you think the shapes look ugly, don’t worry—you can hide or remove elements easily. To improve them, head to the materials section, which is the most fun part. You can play with colors, textures, videos, and even depth. One cool feature is MatCap, which adds light directly to the material, reducing file size and making it perfect for web projects. You can tweak settings like overlay, add textures, and experiment with displacement layers to create unique effects. For example, you can create a cool glassy orb by adjusting layers and textures, then change the background color to enhance the overall vibe.
We’ve covered some basics on manipulating objects, but there’s so much more you can do in Spline. For example, you can quickly add 3D text by typing something like “Wow, this is a wild tool,” and then customize the font, increase its depth, and make it 3D. It’s great for web design. Since there’s so much to explore, I recommend checking out the tutorials in Spline—there’s a lot you can do, and it might be overwhelming to cover everything in this video. But this gives you a quick overview of how fast you can create and edit shapes.
3) Animations
Now that we’ve looked at materials, let’s move on to interactivity and animation. I want to create a heart-like pumping effect using an orb. By setting up two states—a base and a second state—we can adjust things like displacement and size. I’ll also play around with materials, changing the texture from something shiny at the base to something more intense at the second state. Once the states are set, we add a transition over 10 seconds, with an infinite ping pong loop to make it animate back and forth. You can trigger this animation using interactions like "Mouse Up."
While Spline lets you do a lot with animation and interactivity, I recommend handling more complex web animations in tools like Framer or Webflow for better control. For instance, I faced issues with animations not syncing well within Spline for a client project. Moving the interactions to Webflow allowed for smoother control based on scroll position and other page events.
But overall, Spline is incredibly versatile. You can create games, trigger sound effects, and share projects via a public URL. If you run into odd effects, like visibility issues, you can tweak settings like MatCap to fix problems. There’s a ton you can do, so just experiment and see what works!
4) Cloner
I want to quickly show you the cloner tool, which is super cool! When I click on it, I can easily clone multiple copies of the same object. It’s impressive how I can arrange them in a grid or radial layout. For instance, I can create a grid of five by five, and in just a couple of seconds, I've made a wild effect. If I switch to a radial arrangement, I can spread them out to create a beautiful bouquet-like formation.
Another handy feature is the ability to center an object in the middle of the screen with just one click, which is great for getting everything aligned again. Now, let’s talk about collaboration. I can share my work with others by inviting them to view or edit the file, or I can publish it for the community. If someone invites me to a project, I’ll receive a notification in the team section.
5) Exporting Options
When it comes to exporting, I can choose various options. Before exporting, I can adjust settings like hiding the background color and managing cursor interactions. I can also update the public URL for my scene, making it easy to share or embed in a web project. If I want a video instead, I can record the animation and save it to use on my website.
I've learned to add different scenes within the same file for dynamic content, and the responsive settings help resize my scene based on the screen size. This feature is a game-changer, saving me a lot of hassle. I can also export images in PNG or JPEG formats, which is perfect for creating product shots. I remember using this process to showcase a product I created in Spline.
Conclusion
In conclusion, Spline is an incredibly versatile and powerful tool for creating and manipulating 3D objects and animations. From cloning objects with the cloner tool to adding interactivity and animations, it offers a wide range of features that allow for rapid prototyping and creative exploration.
Collaboration and sharing capabilities make it easy to work with others, while the export options ensure that you can present your work in various formats, whether for web projects or promotional materials. The ability to adjust responsiveness and create dynamic scenes adds an extra layer of flexibility, making Spline suitable for diverse applications, including game design and product visualization.
With a bit of experimentation and play, you can unlock the full potential of Spline, creating stunning visuals and interactive experiences. As you dive into your own projects, remember to take advantage of the rich resources available, including tutorials and community support, to enhance your skills and confidence in using this remarkable tool. Happy creating!


