Good morrow, lovely people! Today, we're diving into some flowing magic. I'm going to show you how to make a slick, 3D water flow animation using Spline Tool—and trust me, it’s easier than you think.
This whole thing was inspired by a Twitter question: How can you make this effect 3D? And guess what? You absolutely can—with just a few displacement layers, a sprinkle of color magic, and a bit of patience. Let’s do this!
Step 1: Setting Up the scene
First things first, head over to Spline Tool (it’s free, go sign up if you haven’t already). Open a new file, clear out the default stuff (we don’t need it), and set up a nice purple background. Why purple? Because it looks cool. You can go for any color you like, but I’m feeling the purple vibes today.
Step 2: Building the Base Structure
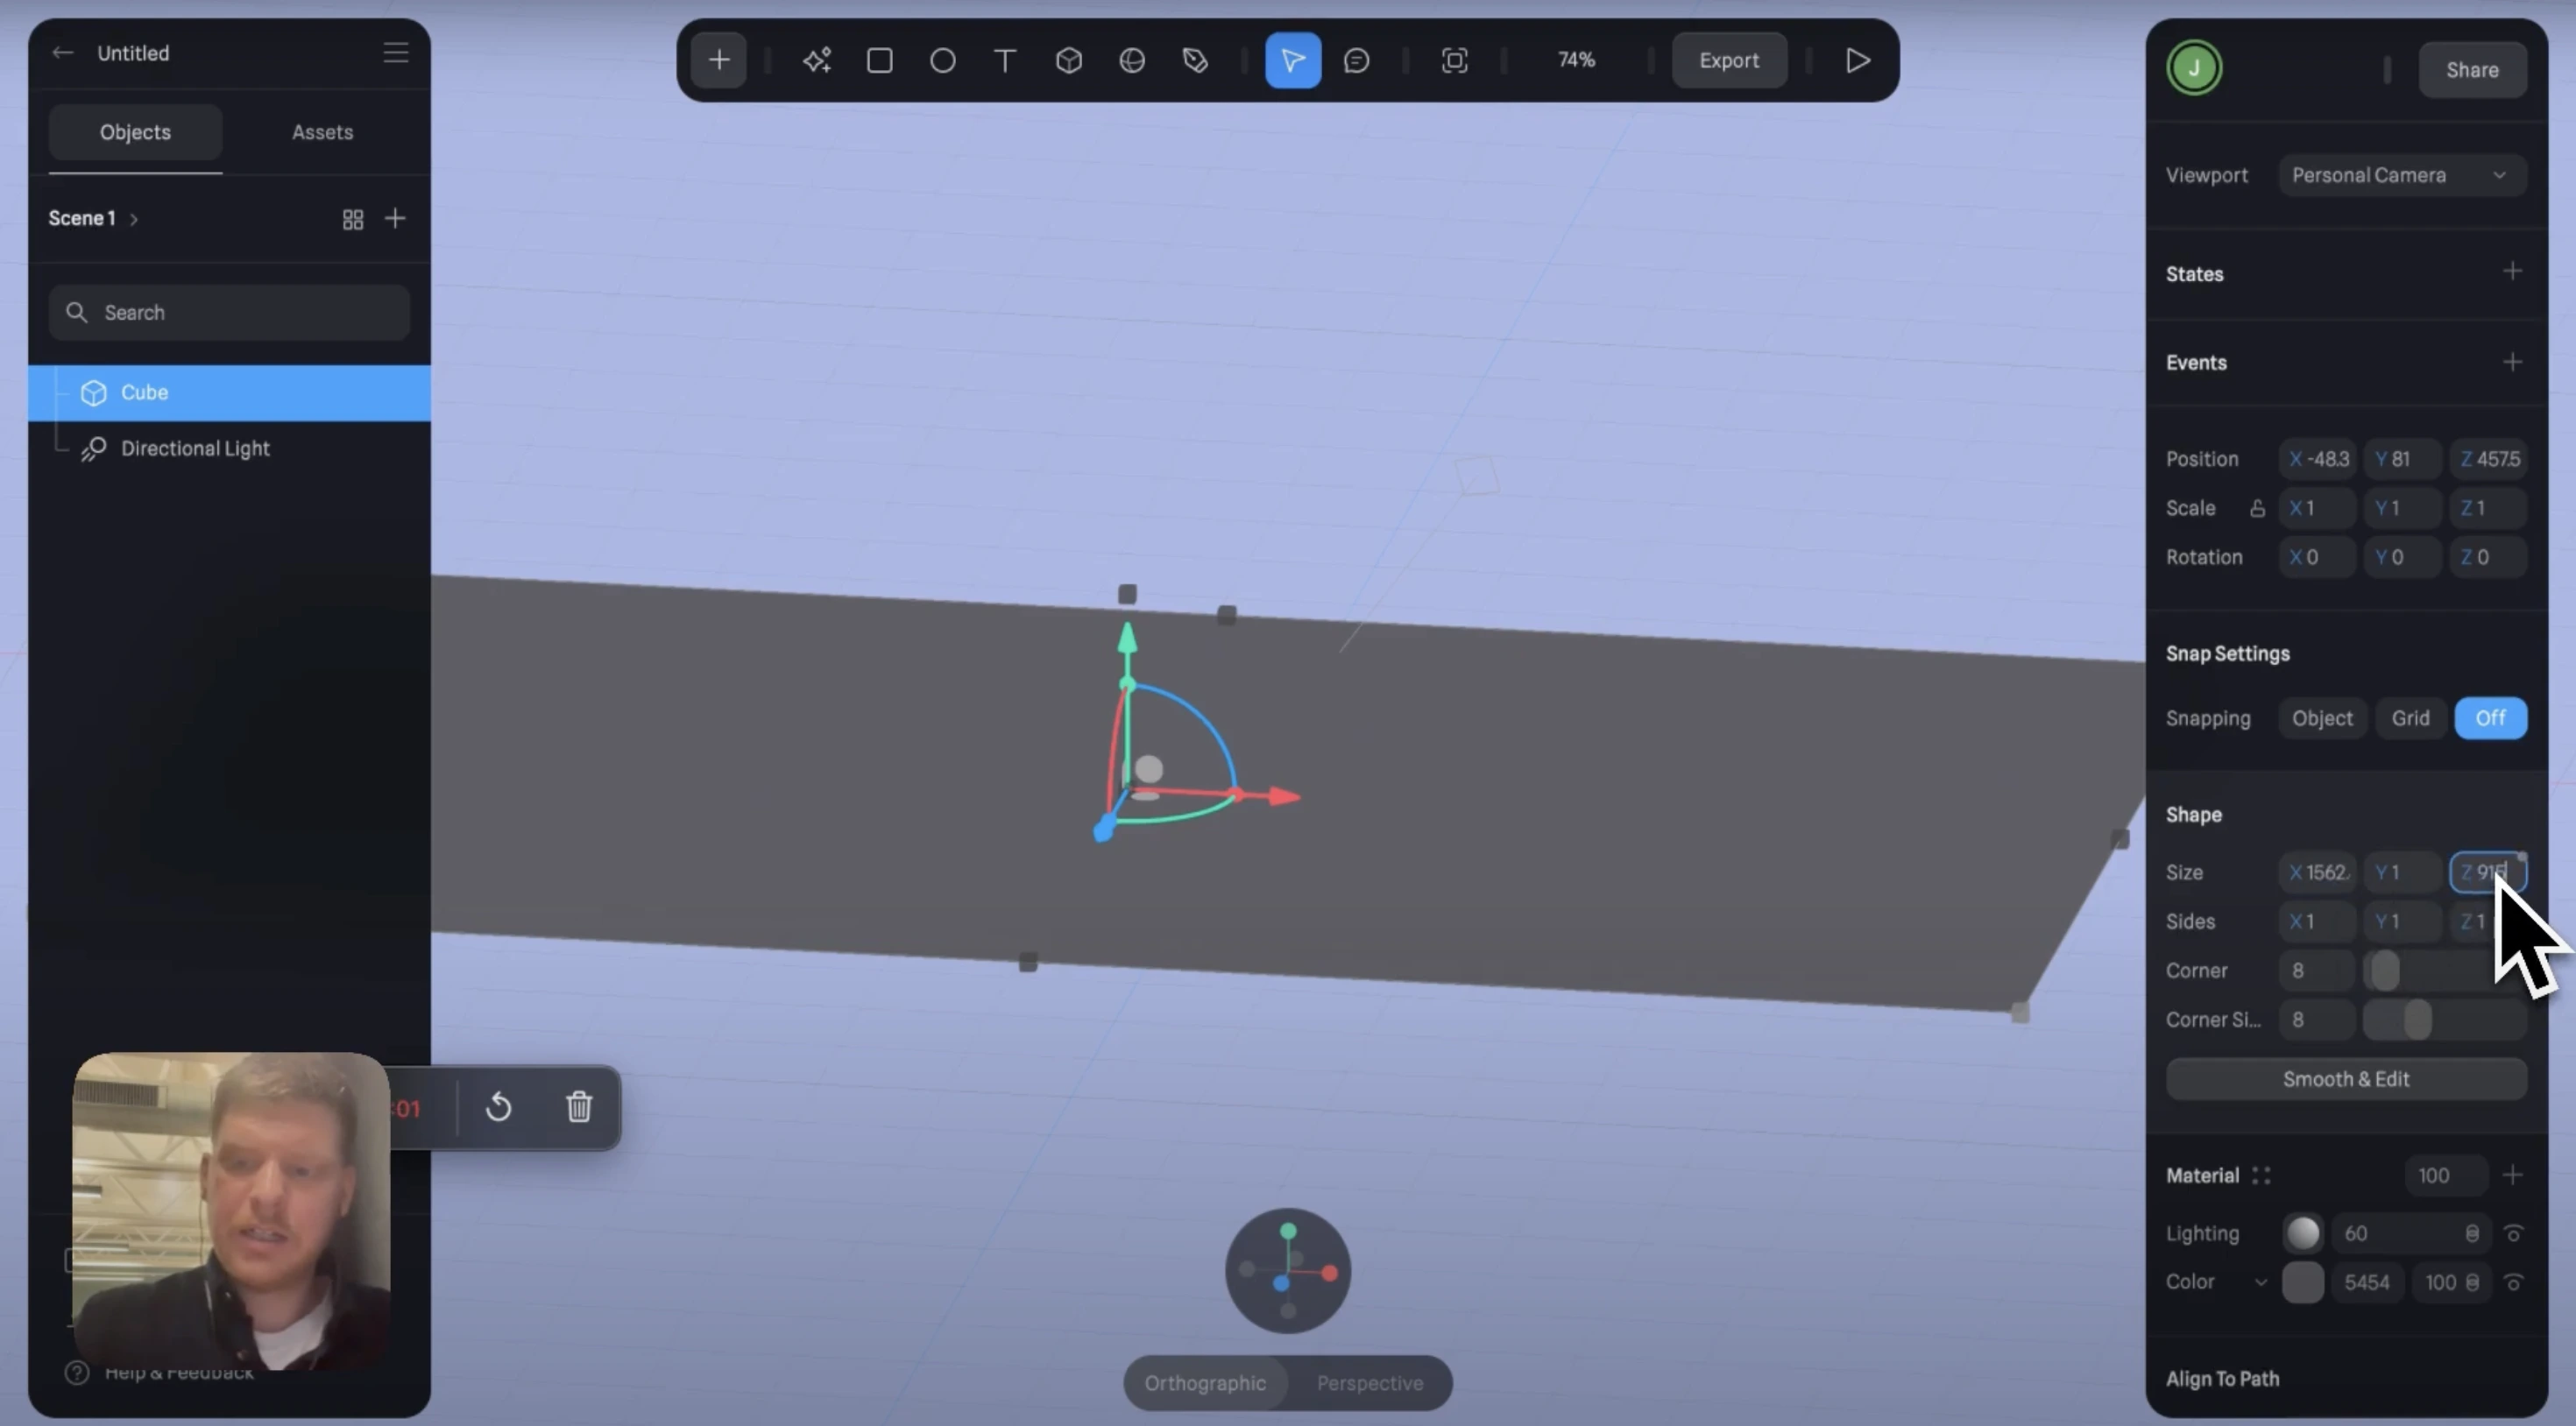
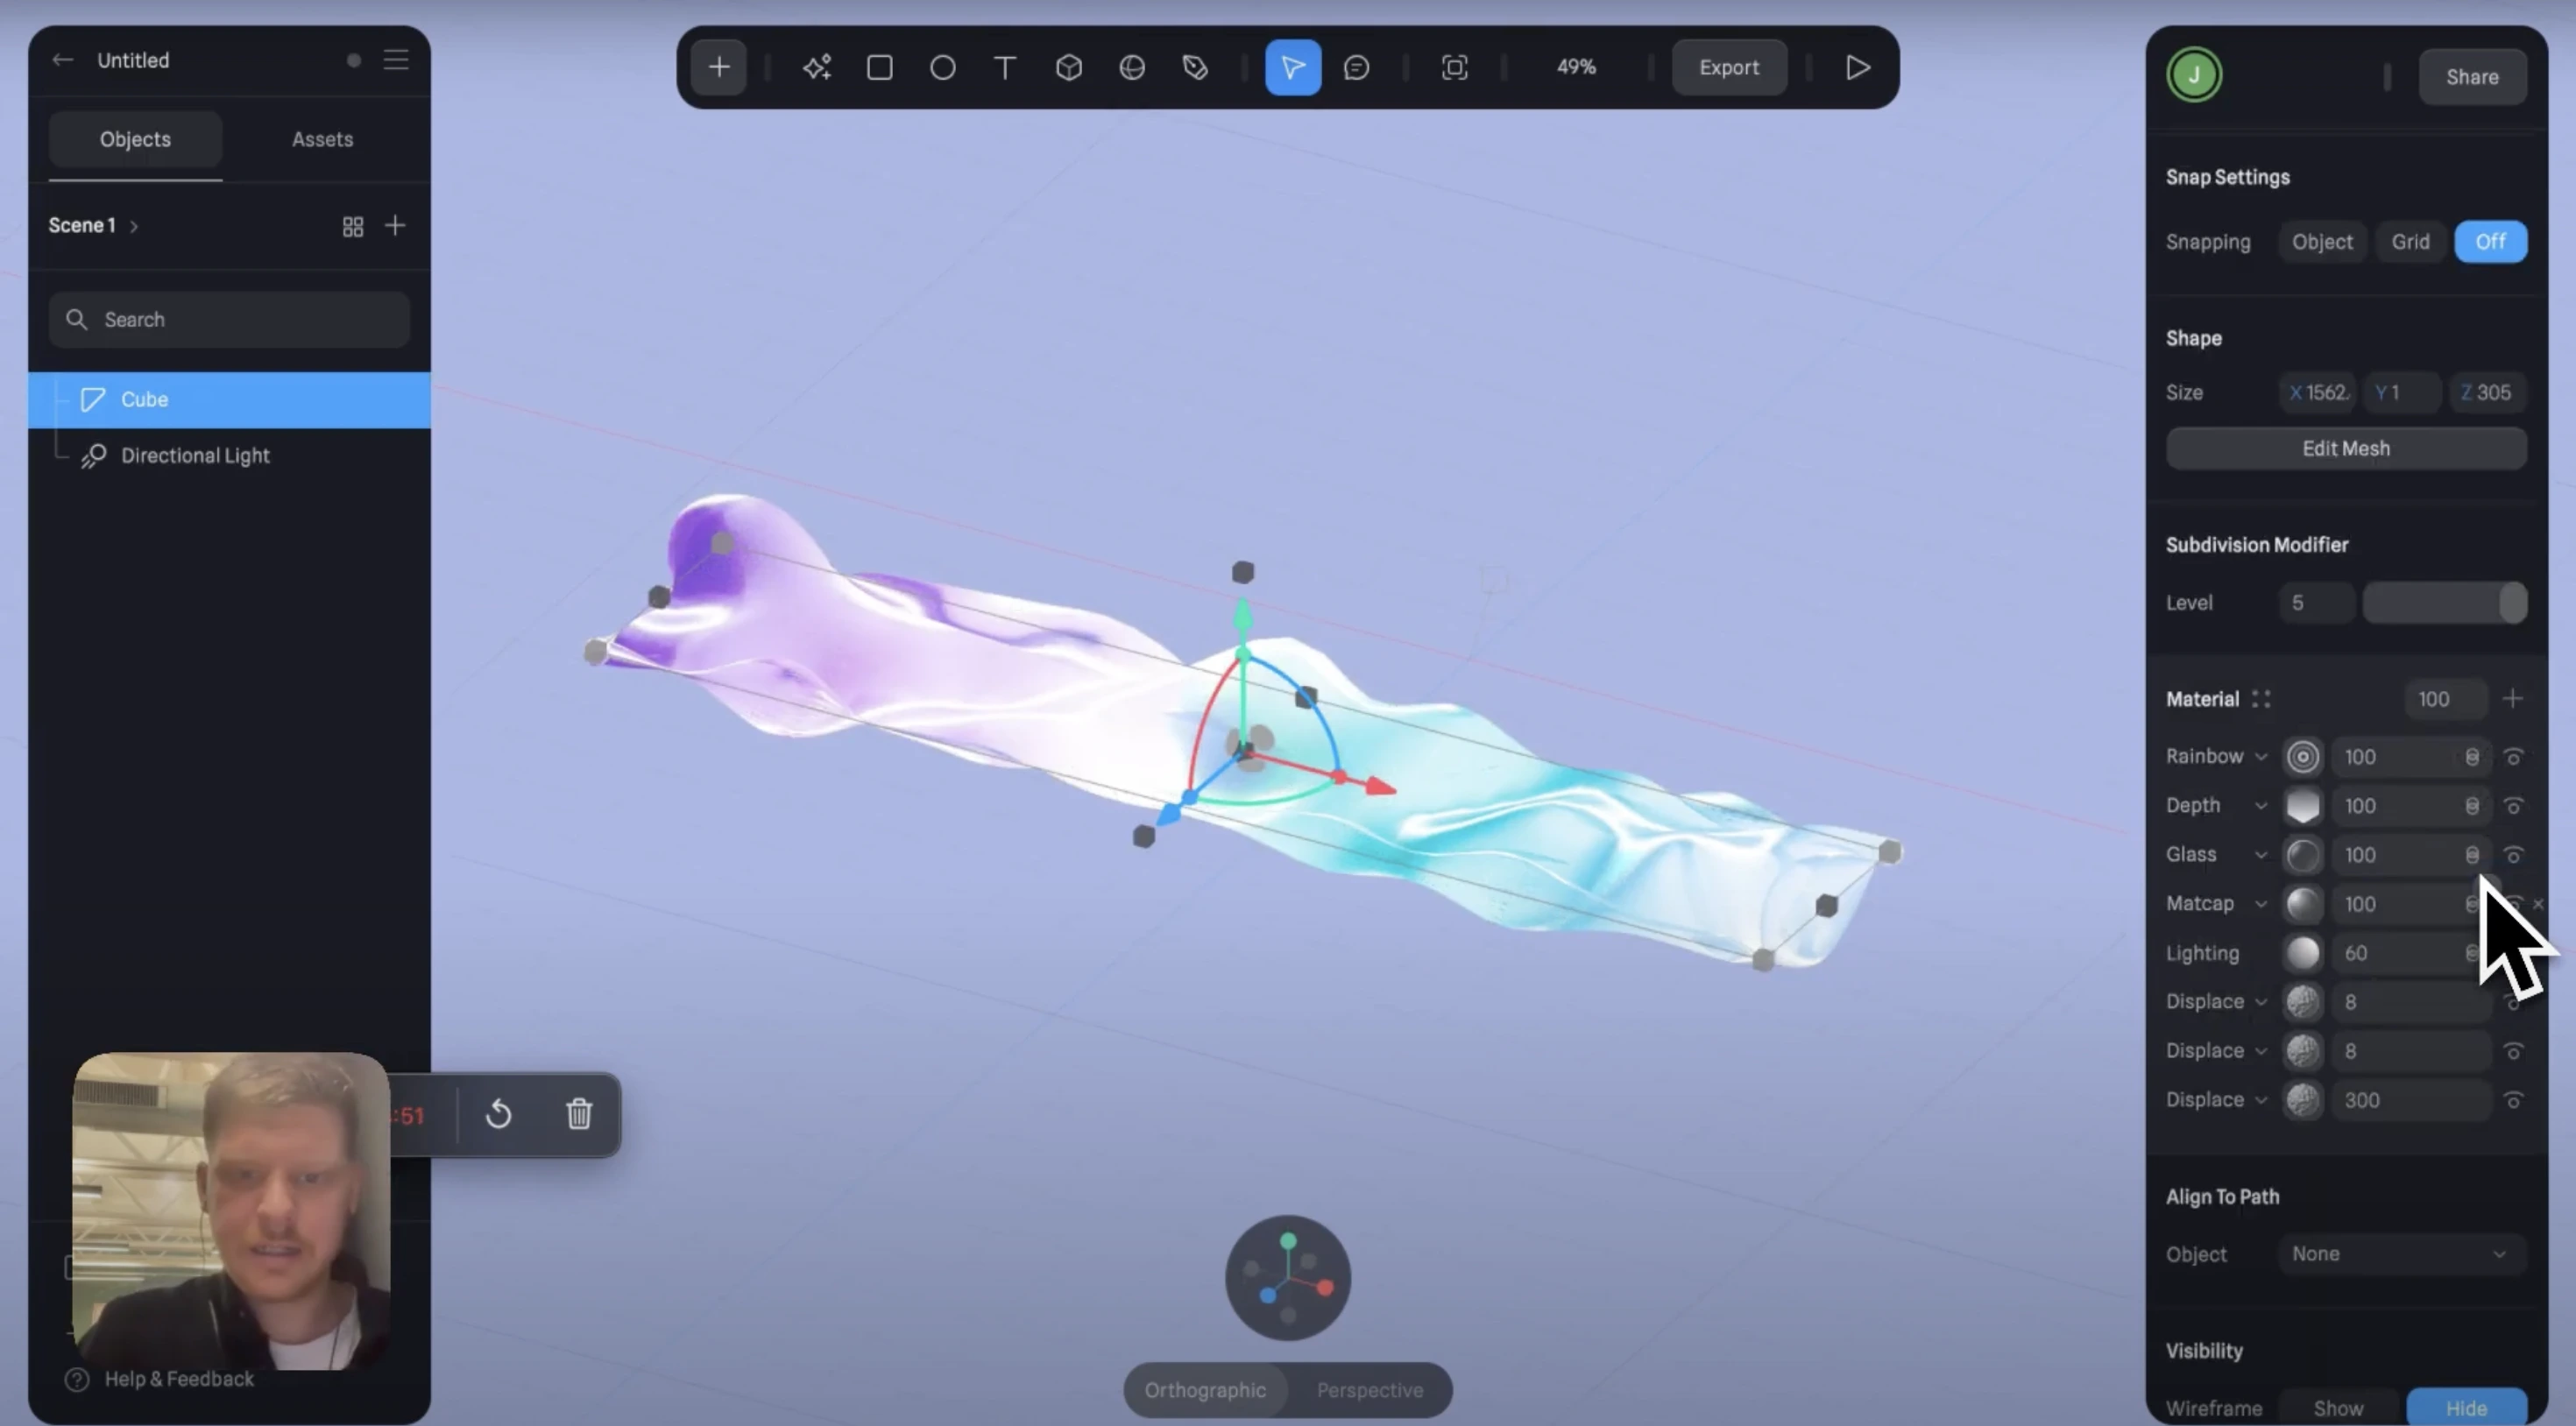
Alright, now let’s add a cube. Not just any cube—we’re going to make it long and super thin, like a delicate pasta strip. Drag it out, stretch it along the X-axis, and squish it down on the Y-axis. Boom! We’ve got a foundation.
Step 3: Adding Motion with Displacement Layers
Now for the fun part: making it move!
- Add three displacement layers—yes, three. Because we don’t do things halfway.
- Set two of them to Simplex noise, which gives us that smooth, wavy motion.
- Set the third one to Ashima, because we want that extra crazy, organic movement.
- Scale it way down, tweak some settings, and just like that—you've got motion!
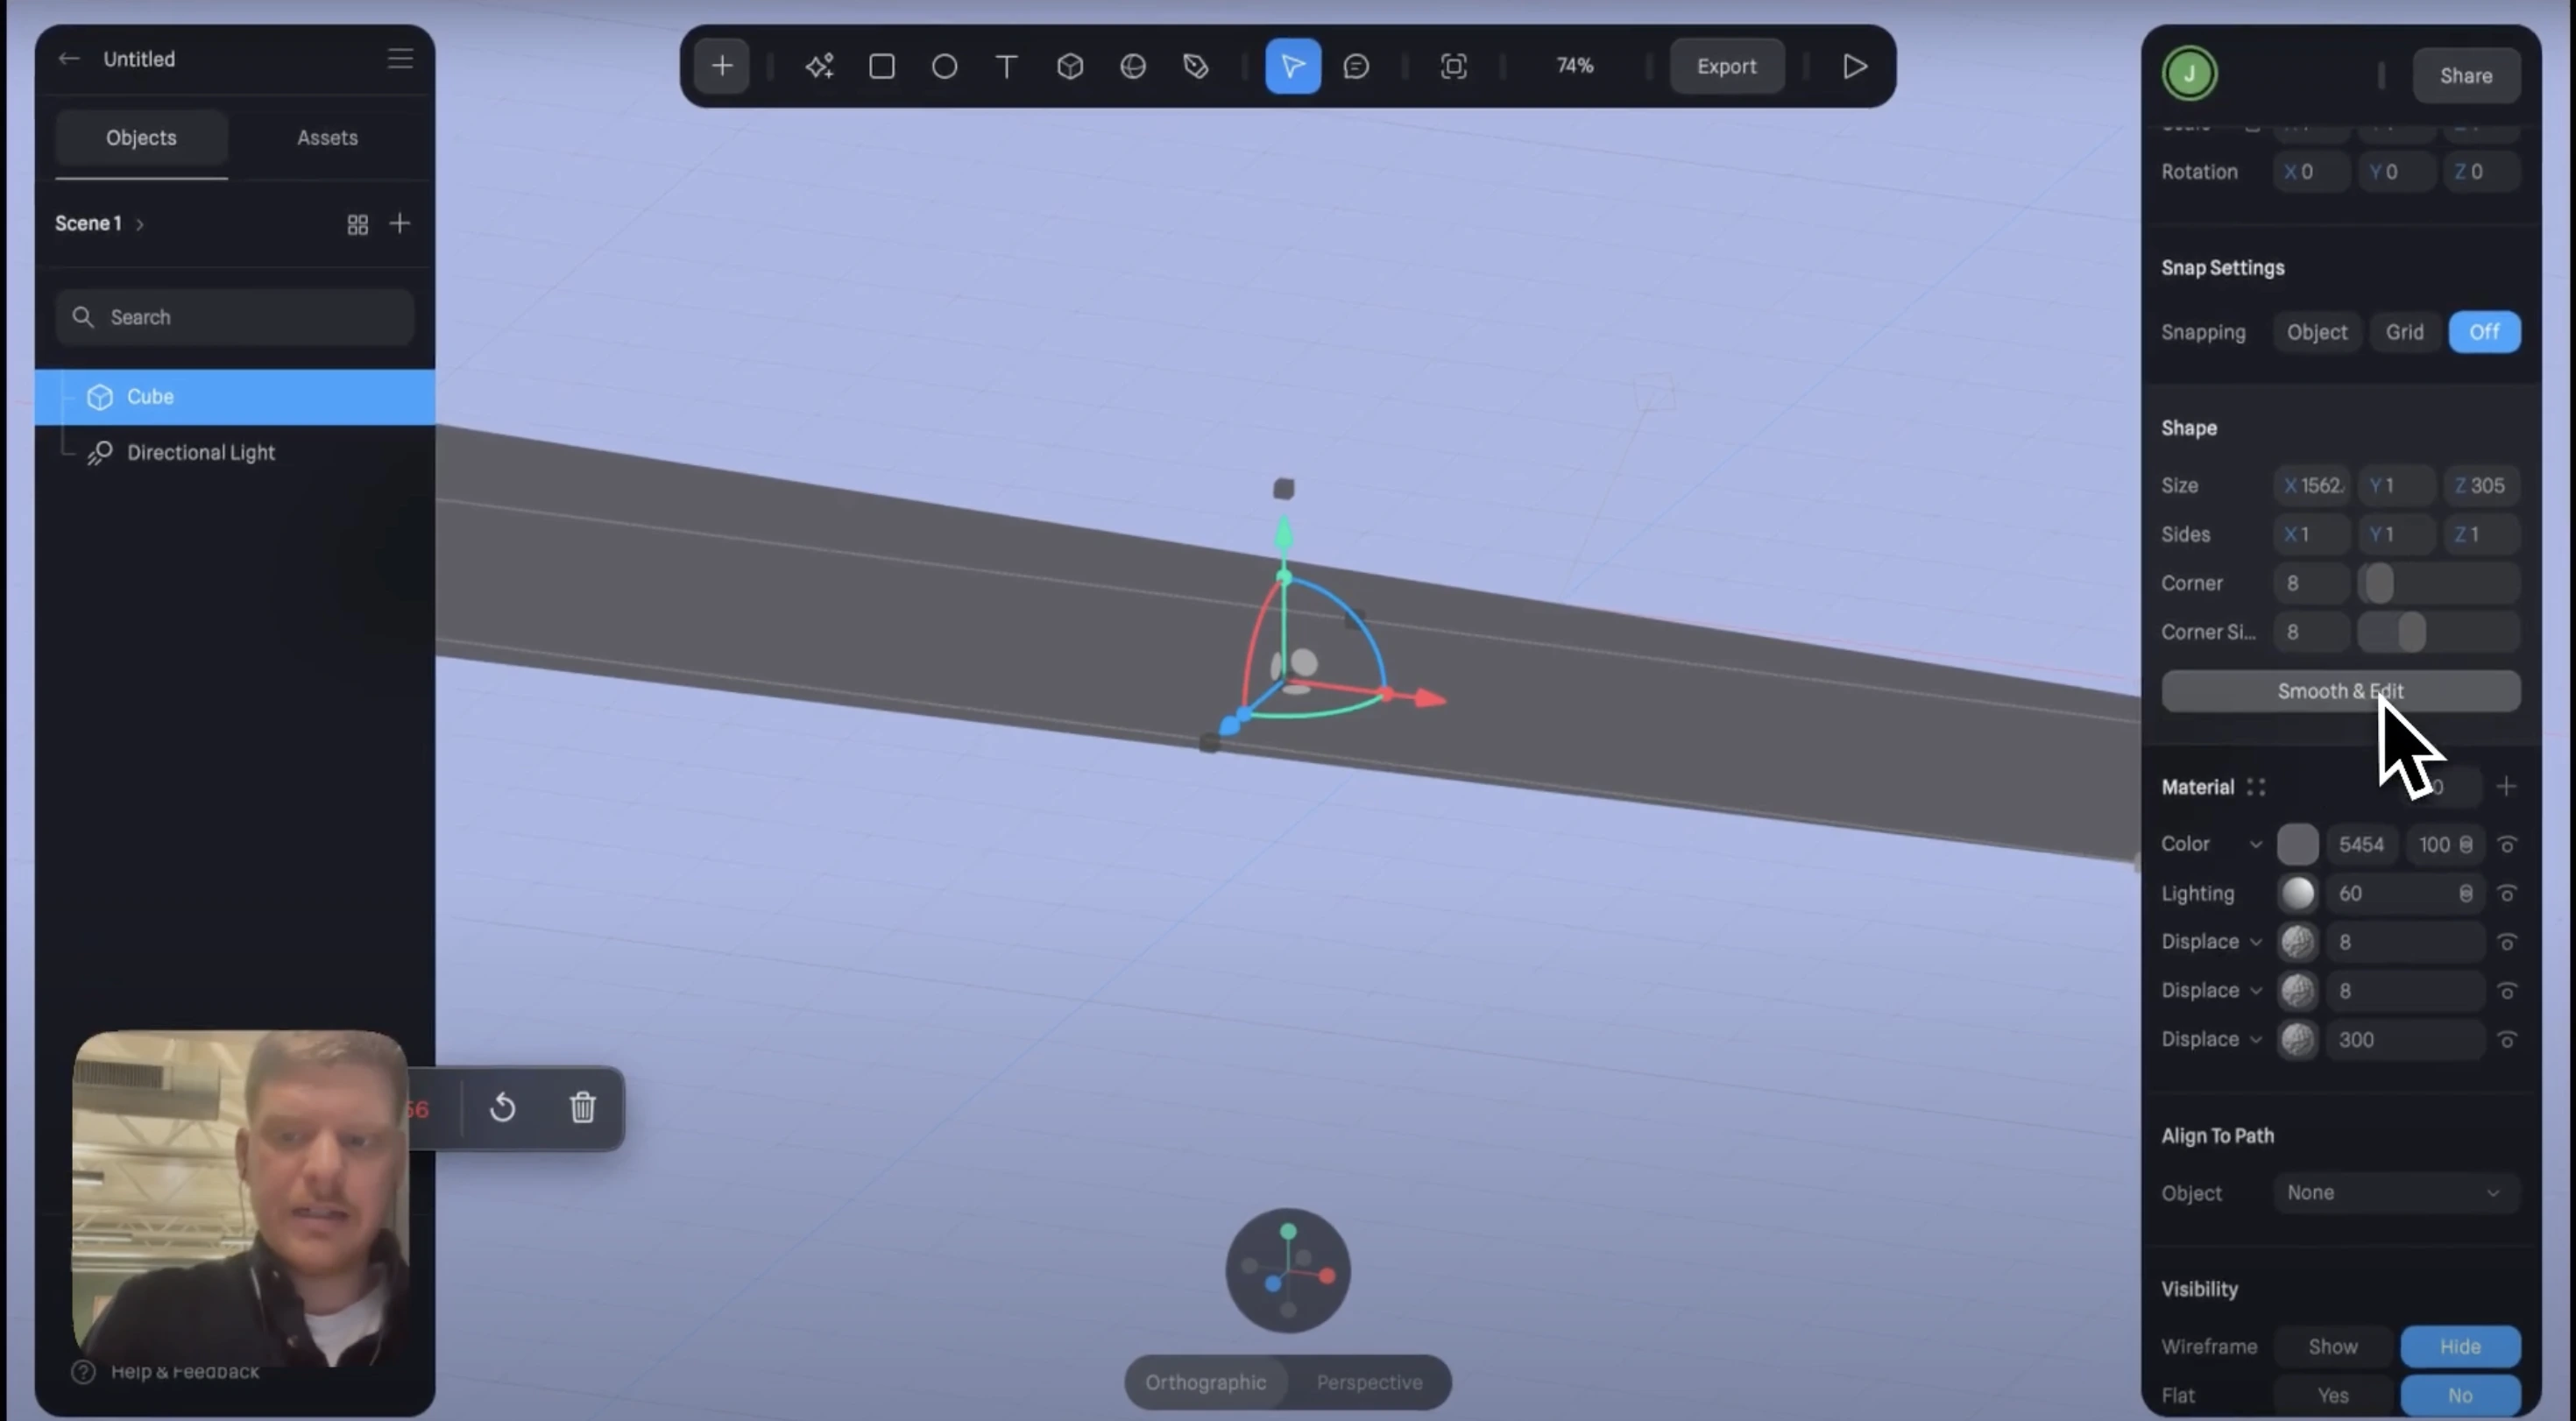
Step 4: Refining the Look

Let’s get fancy. We need this to look as good as it moves.
- Bump up the base subdivision to 5. This is madman territory, but it makes everything silky smooth.
- Add a Matte Cap—set it to white chocolate (yes, that’s a thing, and yes, it looks amazing).
- Throw in a glass material—oops, it disappeared! No worries, just change the overlay settings and we’re back in business.
- Now, let’s play with colors. Blues, a bit of rainbow shine, whatever feels right. Subtle but sexy.
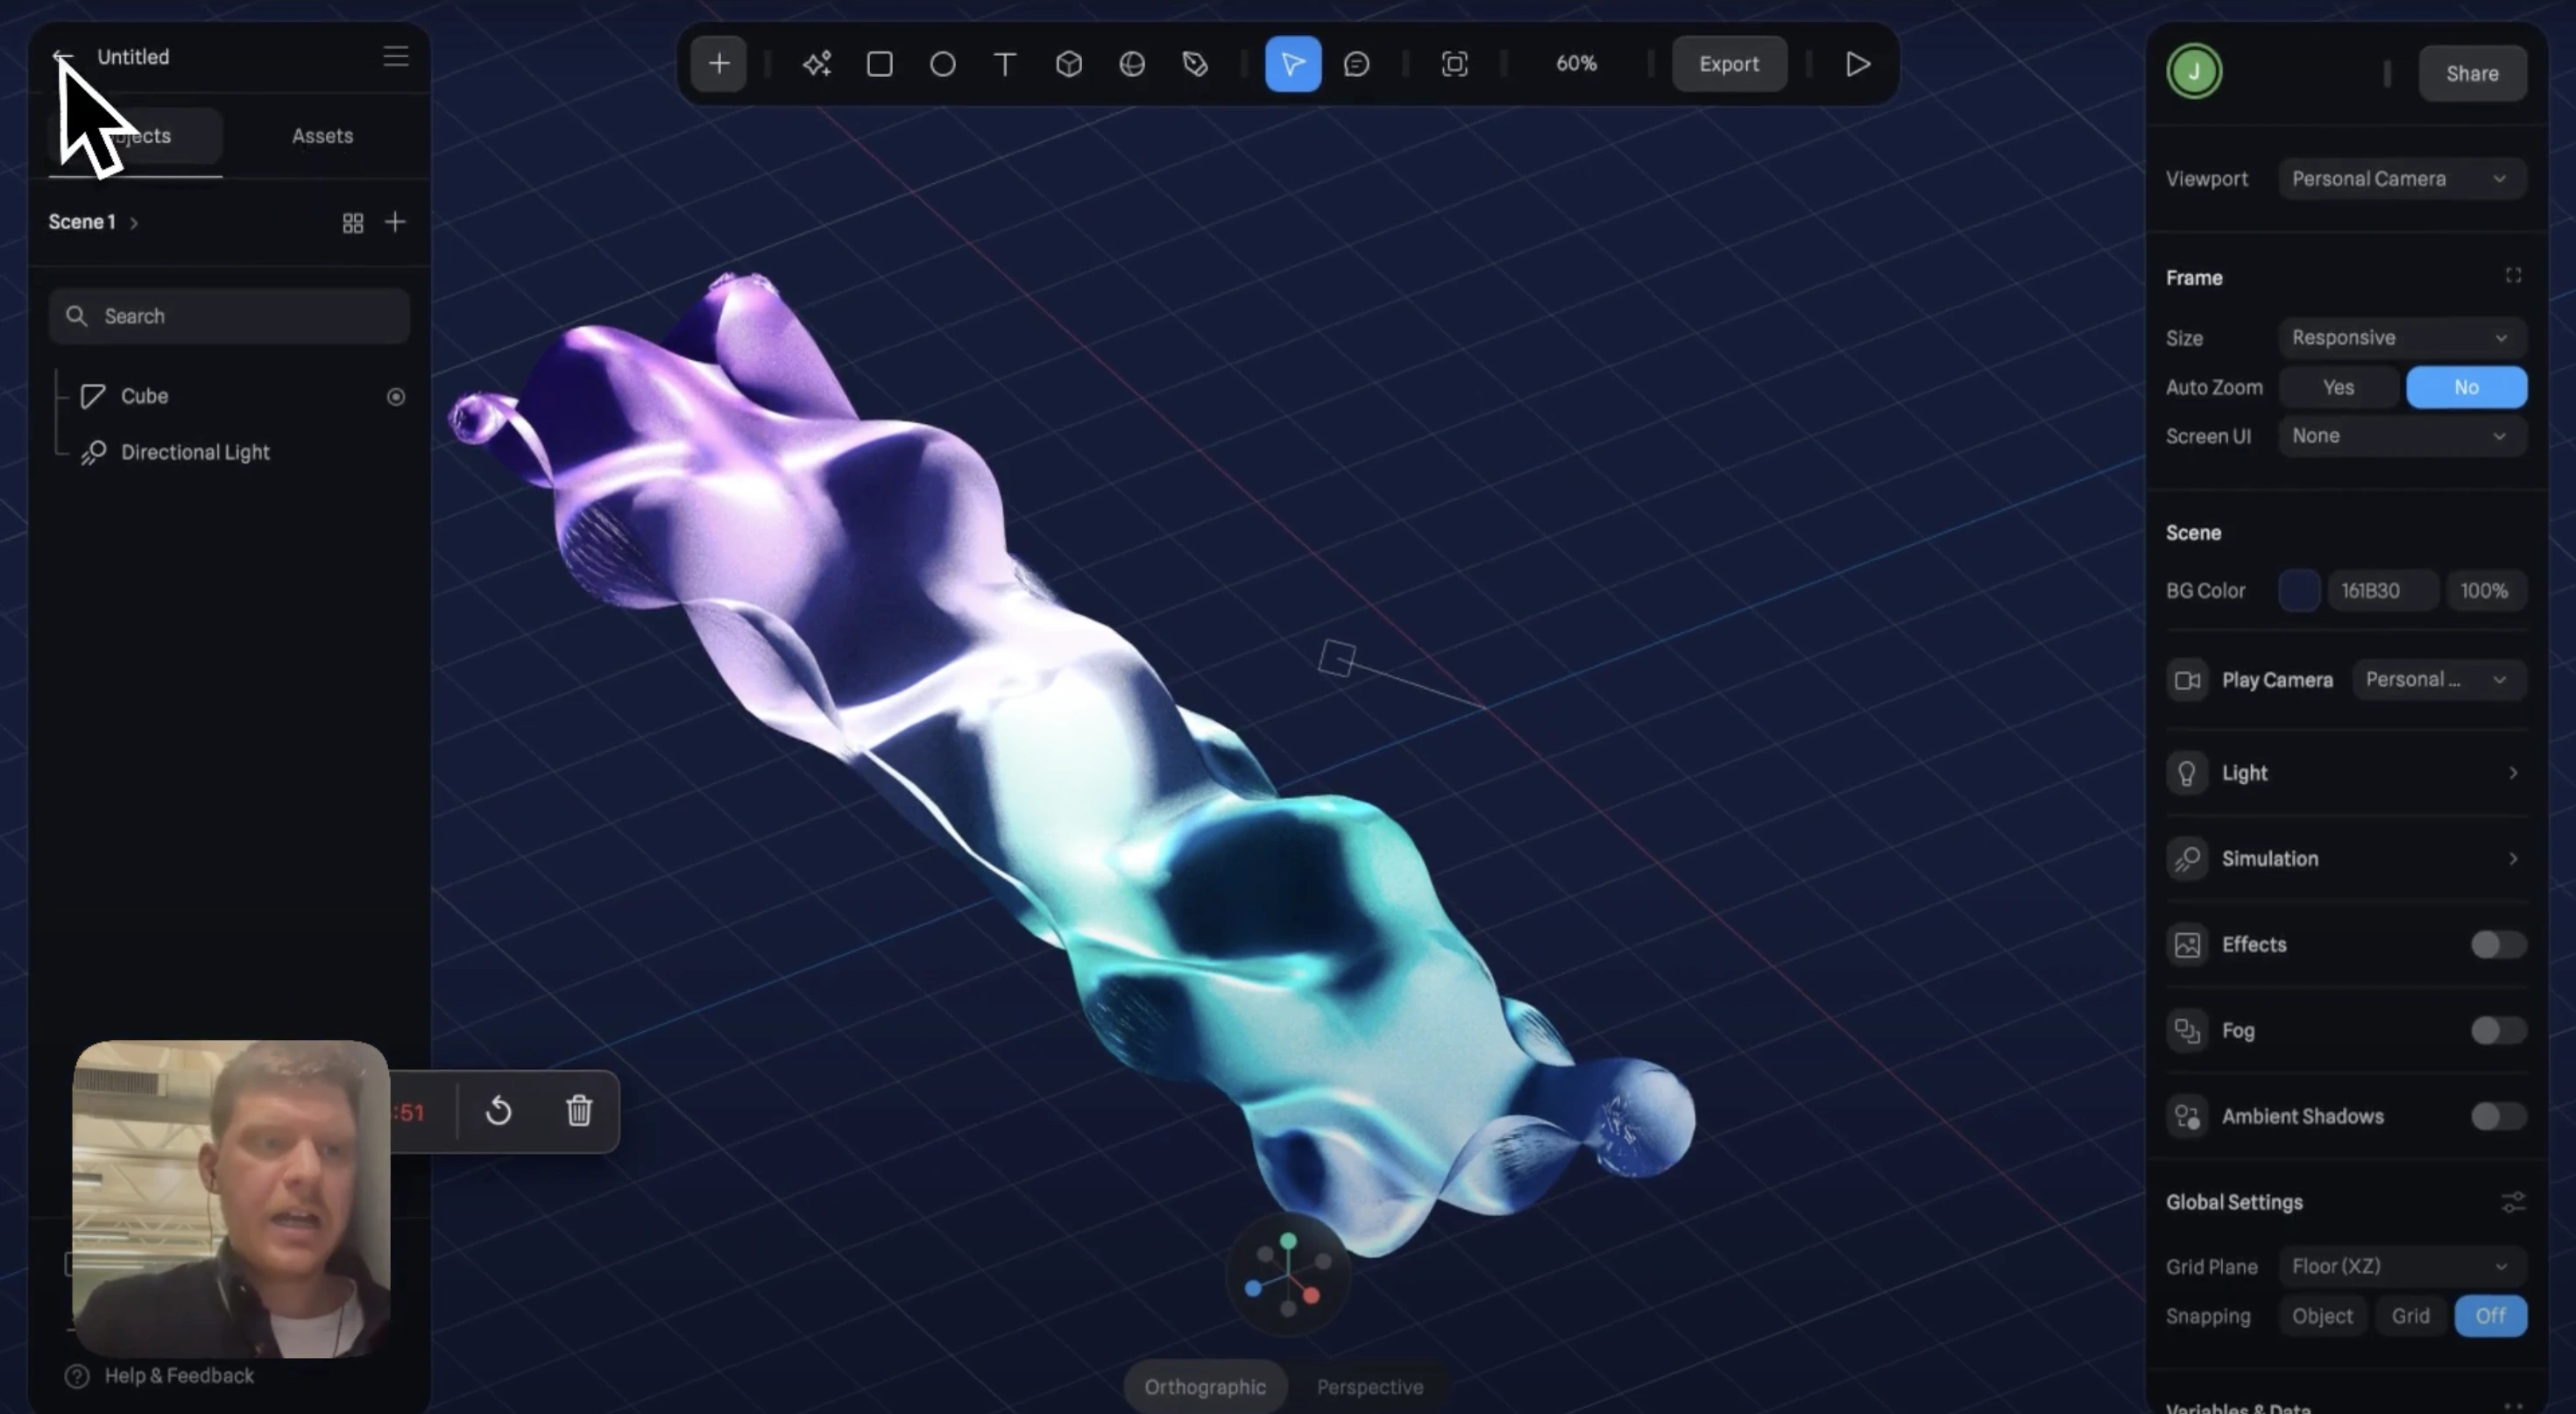
Step 5: Animating the Effect
Time to bring it all to life! Here’s what we do:
- Click the plus icon to create states.
- Set movement values to 20 (because go big or go home).
- Add an event transition—make it linear and 10 seconds long.
Press play and boom—satisfying, glossy, flowy goodness. Oof, that is so nice!
Step 6: Final Adjustments & Pro Tips
- Play around with background colors to see how it affects the look.
- Adjust the transparency for that perfect glossy effect.
- Use this effect in product design, UI animations, or just for fun—because why not?
And that’s it! You’ve just created a super slick 3D water flow animation in Spline Tool. Tag me on Twitter (@JackRedly1) if you make something cool, or drop a comment below if you’ve got any questions.
Ciao for now, and happy animating!
%20(1).jpg)