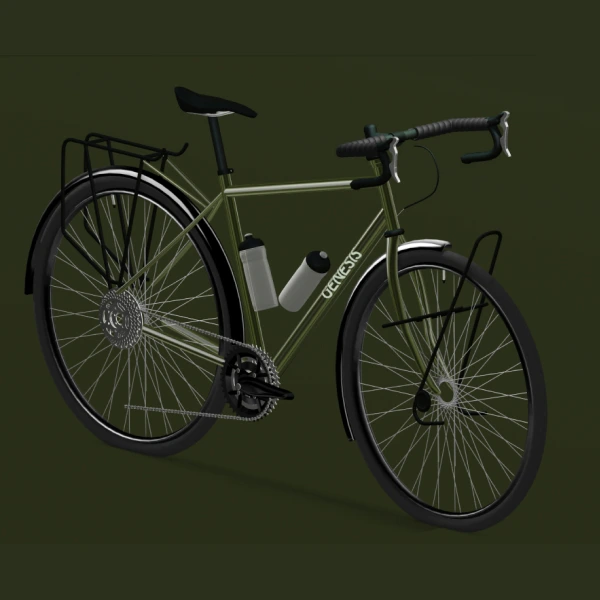
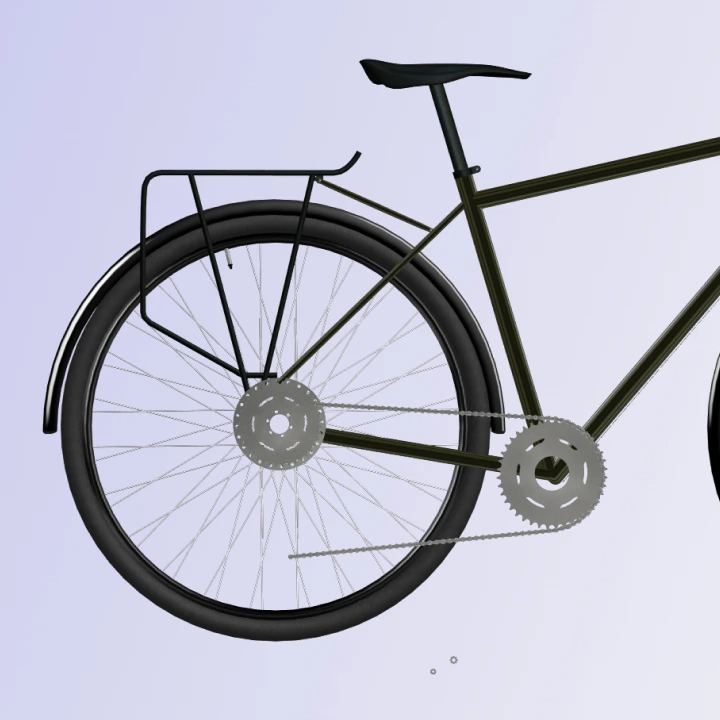
It got me thinking, there are some quite simple ways of creating something look far more realistic than they would be otherwise using Spline.
We’ll discuss:
- Layers
- Bumpmap
- Matcap
Let’s go!
Mastering Layers, Bump Map & Matcap in Spline

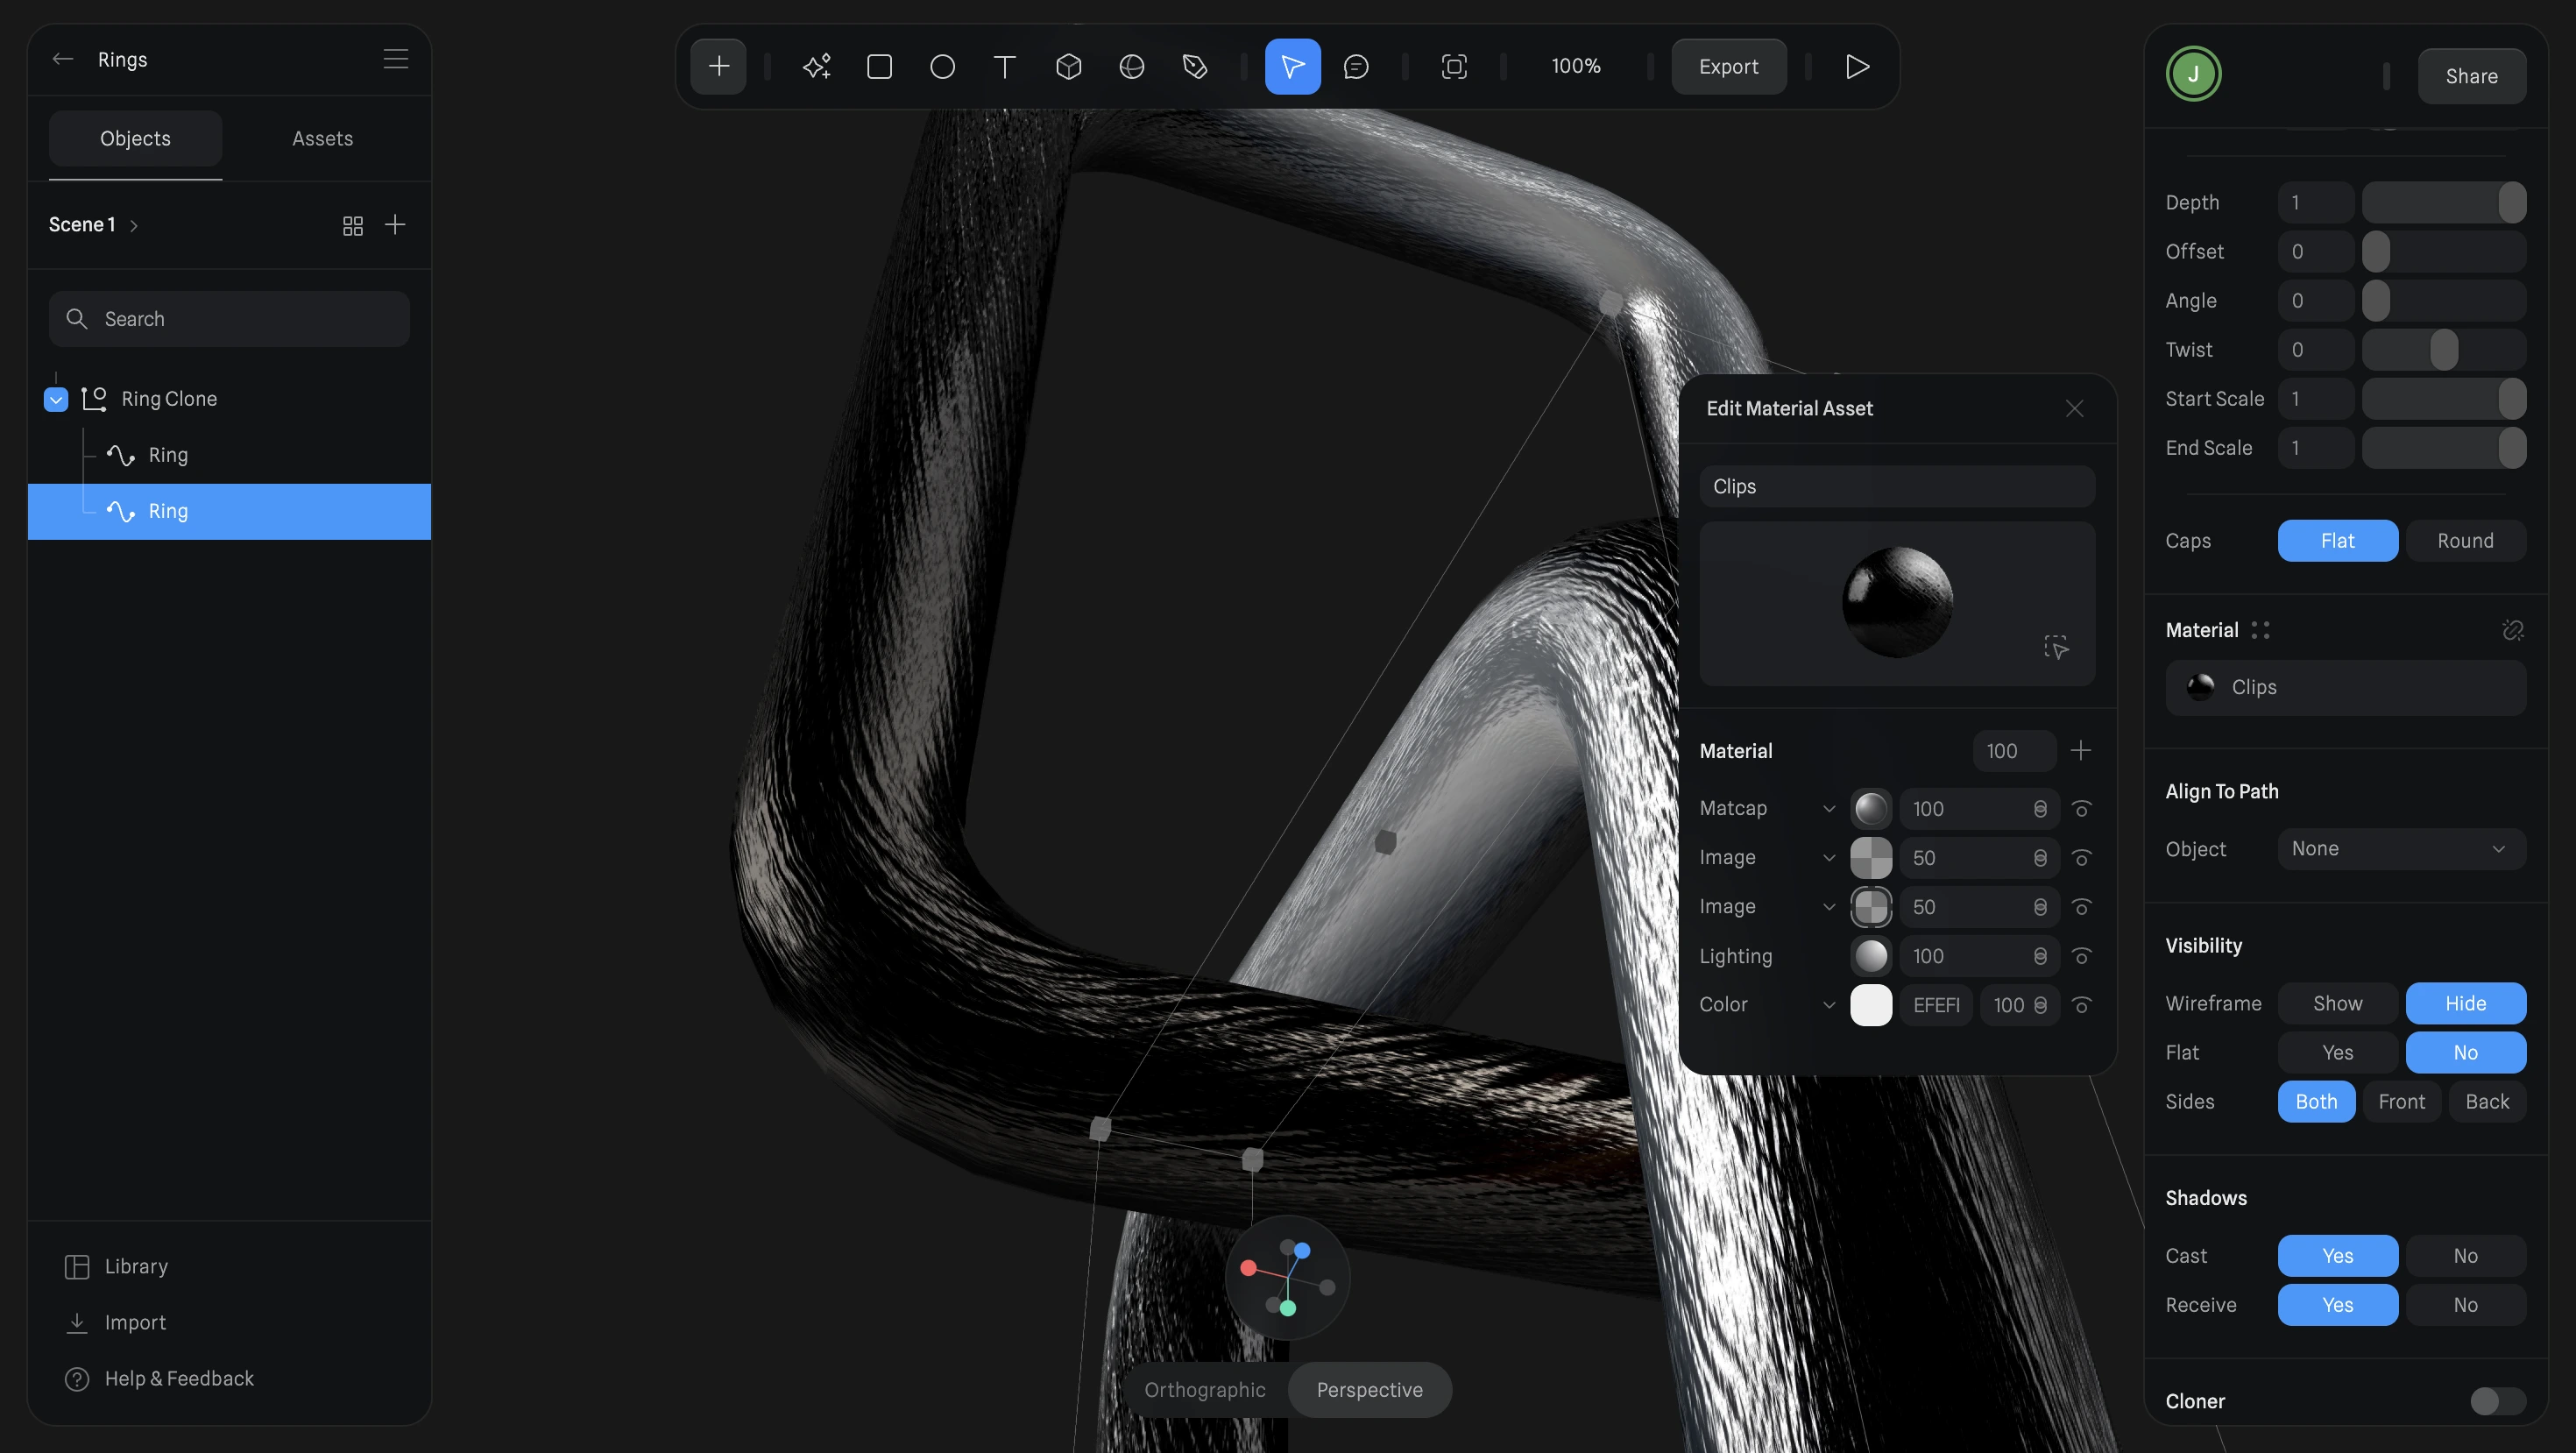
We’ll create an interlocking ring design that looks convincingly real, thanks to texture layering, mat caps, and bump maps—no heavy lighting or polygon overload required!
🛠️ Step-by-Step Breakdown
- Texture and Lighting Effects Without Extra Lights
- Learn how to make your 3D models shine realistically using mat caps and textures, without adding heavy directional lights.
- Adding Image Overlays for Realism
- We’ll add a metal image overlay to achieve a lifelike texture on our model.
- Want more variety? Try uploading custom images or use pre-designed packs like the Cosmo Labs’ MatCap Mega Bundle. (Link in resources!)
- Using the Bump Map Tool
- See how Bump Mapping adds texture depth without changing the object’s geometry.
- Play with intensity and shininess for different effects—create anything from polished metal to weathered surfaces!
- Quick Geometry Adjustments: Displace vs. Bump Map
- Compare displacement and bump maps: while displacement physically alters geometry, bump maps create lightweight, visually textured surfaces.
- Texture Layering with MatCaps
- Layer mat caps to achieve a realistic overlay effect without overloading your design file.
- Experiment with mat cap types to bring out the shiniest, most realistic textures possible.
- Cloning and Interlocking Designs
- Learn to copy, rotate, and interlock shapes to create dynamic, interwoven 3D models.
- Explore the cloner tool for quick duplication and arrangement, perfect for chains, grids, and more!
🌐 Additional Resources:
- 📧 Subscribe to SplineTime3D Newsletter: Weekly tips, resources, and tutorials!
- 🎨 Cosmo Labs’ MatCap Mega Bundle: Take your textures to the next level with pre-made, high-quality mat caps!


